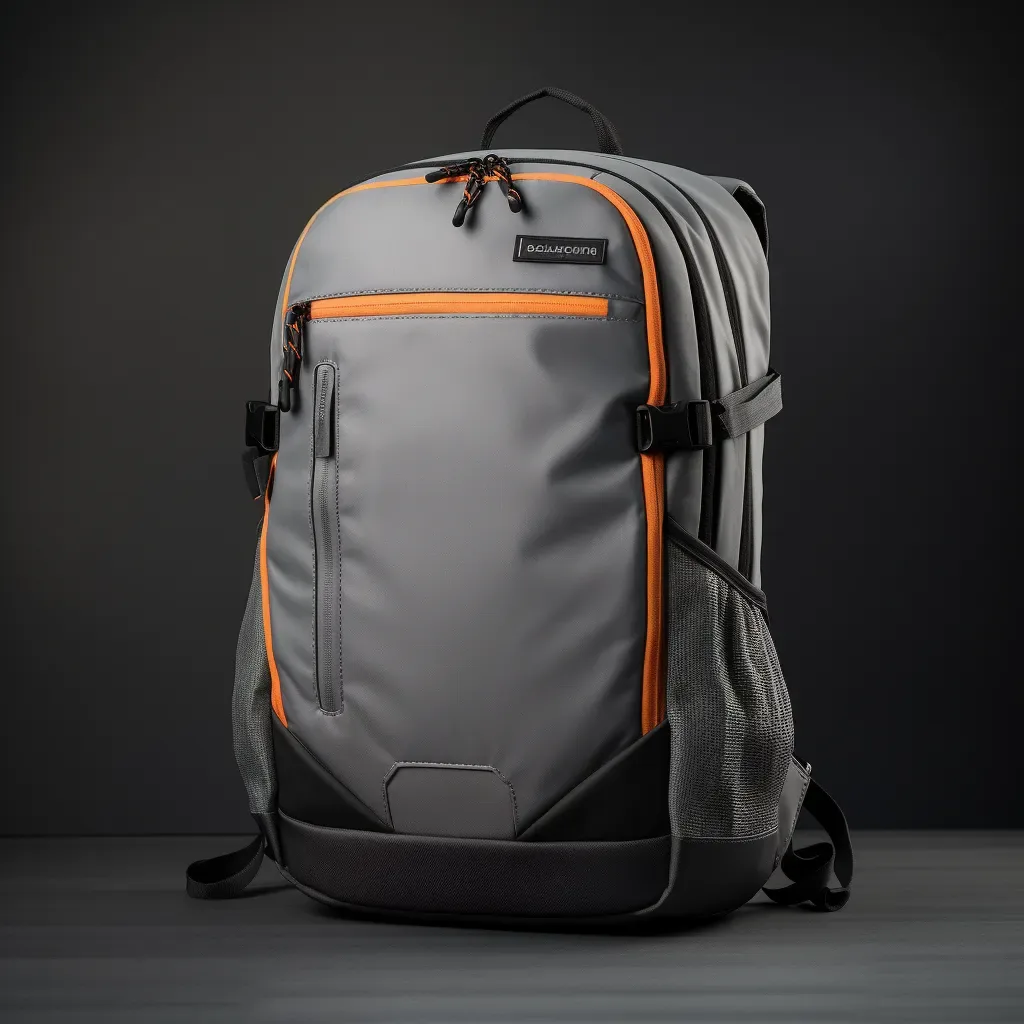
Private label bag photography converts when it answers three questions the customer cannot answer any other way: how big is it, what does the material actually look like, and how does it behave when worn. Styling should serve those questions rather than decorate around them. The practical implication for a brand is that photography is a sourcing decision, not a marketing afterthought: the shot list depends on the specification, colour accuracy depends on approving the product under the same lighting it will be sold under, and the shooting date depends on the production calendar. This guide sets out the shot architecture, the styling decisions that measurably change outcomes, and the file discipline that keeps one shoot usable across every channel.
Why Photography Belongs in the Sourcing Plan
Programme parameters at a glance
| Parameter | Commitment |
|---|---|
| Minimum order quantity | 500 pieces per style / colourway |
| Sampling lead time | 6–10 working days (12–15 days for complex constructions) |
| Bulk production lead time | 35–50 days after sample approval |
| Inspection standard | AQL 2.5 (ISO 2859-1), single sampling, general level II |
| Incoterms | FOB Xiamen — EXW, CIF and DDP available on request |
| Payment terms | T/T 30% deposit / 70% before shipment; L/C at sight for container loads |
| Verified production floor space | 4,950 m² (SGS-verified) |
| Team | 137 staff across 7 production lines |
| Equipment | 149 machines including computerised saddle-stitch and edge-painting units |
| Monthly capacity | 200,000 pieces |
| Entity | Founded 2014; principal has worked in bag development since 2004 |
Those parameters determine the photography calendar as directly as they determine the delivery date. Bulk takes 35 to 50 days after sample approval, sampling takes six to ten working days per round, and neither can be compressed to accommodate a studio booking made against wishful thinking. The shoots that go badly are almost always the ones booked before an ex-factory date existed.
There is a second reason to involve production thinking early: accuracy. An image that flatters a bag into looking like something it is not generates returns, and returns are priced against retail rather than against cost. Editorial coverage of the category in titles such as Vogue Business and Business of Fashion has made customers considerably more literate about construction and material; they zoom, they compare, and they notice when a lining or an edge does not match the promise. Honest imagery is not a constraint on conversion. It is the mechanism of it.
The single most useful decision a brand can take at this stage is to approve colour under retail lighting. Metamerism — the shift in perceived colour between light sources — causes a leather approved under one condition to be returned under another. Verifying the sealed sample under the lighting specified for the retail environment, and lighting the shoot to the same standard, removes an entire category of dispute before it starts.
Shot List Architecture for a Bag Line
A bag line needs fewer hero images than most brands commission and far more supporting frames. The hero shot earns the click; the supporting frames earn the purchase and prevent the return. The architecture below is the minimum that consistently performs across own-site and marketplace channels, and it should be written into the brief as a deliverable rather than left to the photographer's judgement on the day.
| Frame | Purpose | Requirements | Common failure |
|---|---|---|---|
| Front silhouette | Establishes shape and proportion | Square-on, consistent camera height across the line | Inconsistent scale between styles in one grid |
| Three-quarter view | Shows depth, gusset and posture | Slight rotation revealing the side profile | Shot so flat that depth is invisible |
| Worn or held view | Answers how it behaves in use | Correct strap drop, real load, natural hand position | Empty bag held stiffly, which reads as small |
| Scale reference | Answers how big is it | A common object or a stated dimension graphic | No reference, leaving size to imagination |
| Material close-up | Answers what it actually is | Raking light showing grain, hand and finish | Over-softened close-up that hides texture |
| Interior view | Shows lining, pockets and organisation | Bag opened and supported, interior fully lit | Dark interior, which reads as poor quality |
| Hardware detail | Shows finish quality and branding | Macro frame on the plate, zip pull and feet | Reflections that obscure the finish |
| Edge and stitch detail | Evidence of construction quality | Frame on a corner and a seam junction | Omitted entirely, losing the quality argument |
Consistency across the line matters more than the quality of any single frame. A grid in which six styles are photographed at six different camera heights and distances reads as an inconsistent collection, and customers interpret visual inconsistency as a quality signal. Fixing camera height, distance, background and light direction for the whole line, and recording those settings, also makes the second shoot dramatically easier.
Styling Decisions That Change Outcomes
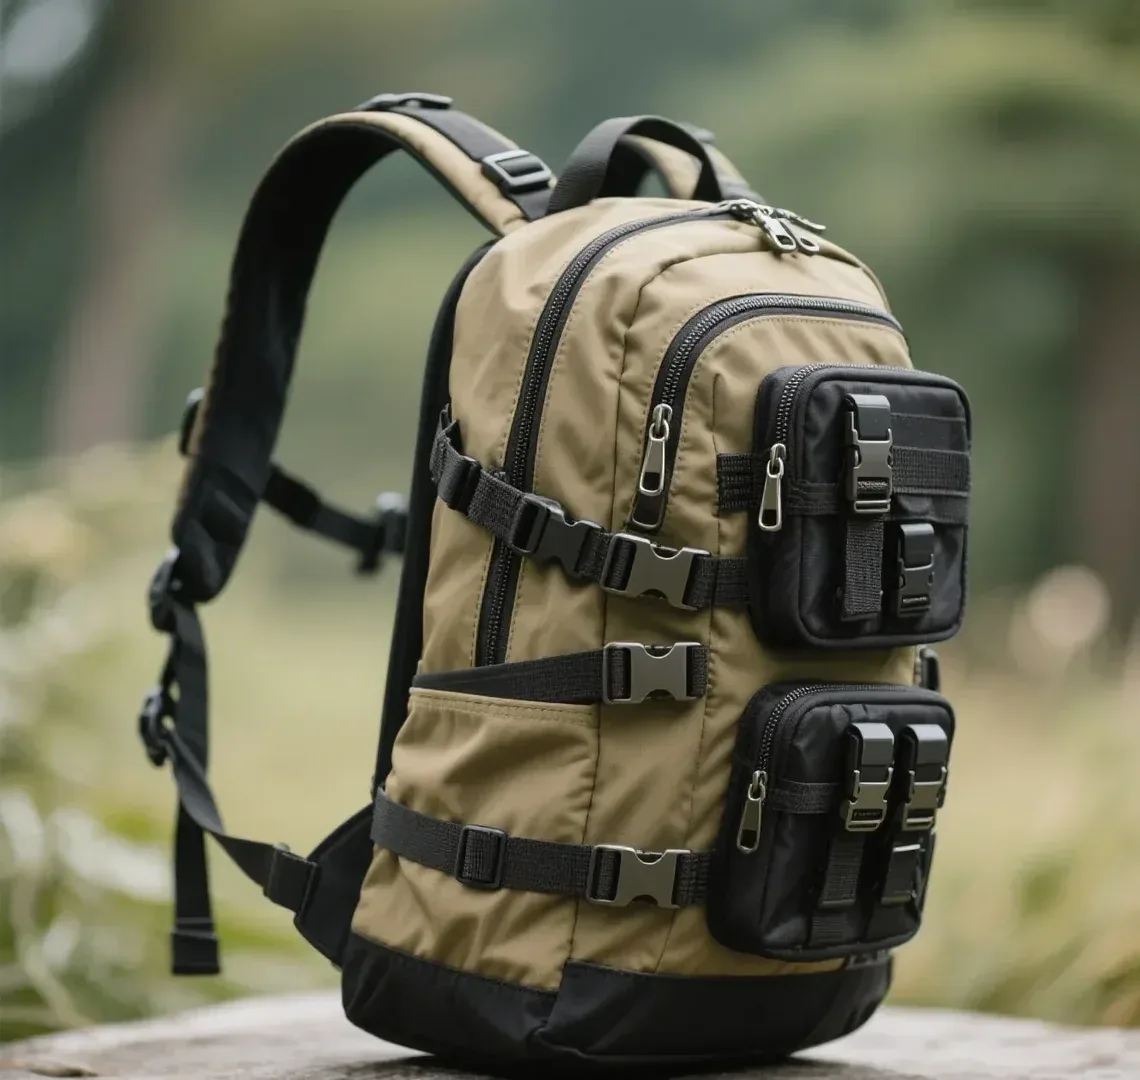
Styling on a bag shoot is mostly subtraction. The product is the subject, and every prop competes with it for attention. The decisions that reliably move conversion are the ones that reduce ambiguity about size, use and material, rather than the ones that add atmosphere.
- Fill the bag to its intended load before shooting the worn frame; an empty bag photographs smaller and slacker than the one the customer receives.
- Set the strap to the specified drop rather than shortening it for a tidier frame, because customers notice the discrepancy on arrival.
- Keep props monochrome and low-contrast so the eye goes to the product; a busy prop styling pulls attention away from the material.
- Show the bag on a body or a form that matches the target customer, since fit and proportion are read relative to the wearer.
- Shoot the closure both open and closed, because how a bag opens is a decision factor that static frames hide.
- Include one frame showing the bag standing empty and unsupported if structure is a selling point, since collapse is the most common complaint.
- Avoid over-retouching the leather; removing natural marking removes the evidence that the material is what the copy claims.
The fill point deserves emphasis because it is the most frequently ignored and the most commercially significant. A structured tote photographed empty with no load looks like a different product from the same tote carrying a laptop, a wash bag and a water bottle. Shooting at the intended load both sets accurate expectations and, in most cases, improves the frame, since leather and structured panels sit better with something inside them.
Background choice should follow the positioning rather than the trend. A neutral mid-grey or warm off-white keeps colour rendering predictable and lets the product dominate; a heavily textured surface adds visual noise and complicates colour correction across a large catalogue. Where a brand shoots on location for lifestyle frames, keeping the product frames consistent with the studio set prevents the catalogue from fragmenting visually.
Lighting for Material Truth
Leather is a difficult subject because its value is partly tactile and partly optical: grain depth, finish sheen and the way a panel catches light at an angle. Flat frontal lighting flattens all three. The objective is controlled raking light that reveals surface character without introducing specular hotspots that read as damage.
| Material | Lighting approach | What to avoid | Retouching restraint |
|---|---|---|---|
| Full-grain and pebbled leather | One soft key with a raking fill to reveal grain | Hard specular highlights that read as scratches | Preserve pore structure and natural marking |
| Saffiano and coated finishes | Broad soft source; low raking angle | Reflections that flatten the cross-hatch texture | Do not remove the embossed pattern |
| Suede and nubuck | Grazing light to show nap direction | Flat light that makes nap look dirty | Do not even out the nap digitally |
| Patent and high-gloss | Large diffused source with controlled flags | Uncontrolled reflections of the studio | Flag reflections in camera, not in post |
| Metal hardware | Small source plus a reflector for shape | Blown highlights on polished finishes | Preserve the true finish colour |
| Lining interiors | Dedicated fill light inside the bag | A dark cavity that reads as cheap | Lift exposure in camera where possible |
Colour fidelity is the technical requirement that protects margin. Shoot with a calibrated target in the first frame of every setup, work in a wide colour space, and correct against the approved physical swatch rather than against a screen. The sealed sample should sit on the studio table throughout, so that any dispute about whether an image is accurate can be settled by holding the two side by side under the same light.
Where a line includes multiple colourways, shoot them in one session under identical settings. Re-shooting a colourway weeks later under a different setup produces a grid in which two shades of the same style look like different products, and that inconsistency is read as a colour accuracy problem by the customer even when both images are technically truthful.
Studio, Location or Lifestyle: Cost and Control
Three production models are available and most lines need two of them. Studio frames deliver consistency and control, which is what a product grid requires. Lifestyle frames deliver context and aspiration, which is what paid social and editorial placements require. Location work sits between the two and is the most likely to overrun, because it trades control for atmosphere.
| Model | Cost profile | Control | Best used for |
|---|---|---|---|
| Studio product | Day rate plus stylist; predictable | Highest: light, background and repeatability | Product grids, marketplaces, wholesale linesheets |
| Studio lifestyle | Day rate plus talent and set | High, with more variables | Homepage banners, email, paid social |
| Location lifestyle | Day rate plus permits, travel and weather risk | Lowest: light and schedule are not controlled | Campaign work, brand film, seasonal editorial |
| In-house repeat | Fixed cost after equipment | High once the setup is documented | Reorders, new colourways, top-up frames |
The economics favour documenting the studio setup once and repeating it. Recording camera height, distance, lens, light positions, power settings and background reference means that a reorder colourway or a new season addition can be photographed to match the existing grid without re-booking a full creative day. For a private label line that reorders several times a year, that documentation pays for itself within two seasons.
Timing is the other cost driver. Studio time booked before goods have landed is studio time paid for twice. Book against the confirmed ex-factory date plus a realistic buffer for freight and customs, and hold a contingency slot rather than assuming the first slot will hold. Where a launch absolutely cannot move, shoot the sealed sample early for campaign assets and top up with bulk units on arrival, accepting that the sealed unit and production units should be identical by definition.
File Specification, Naming and Channel Readiness
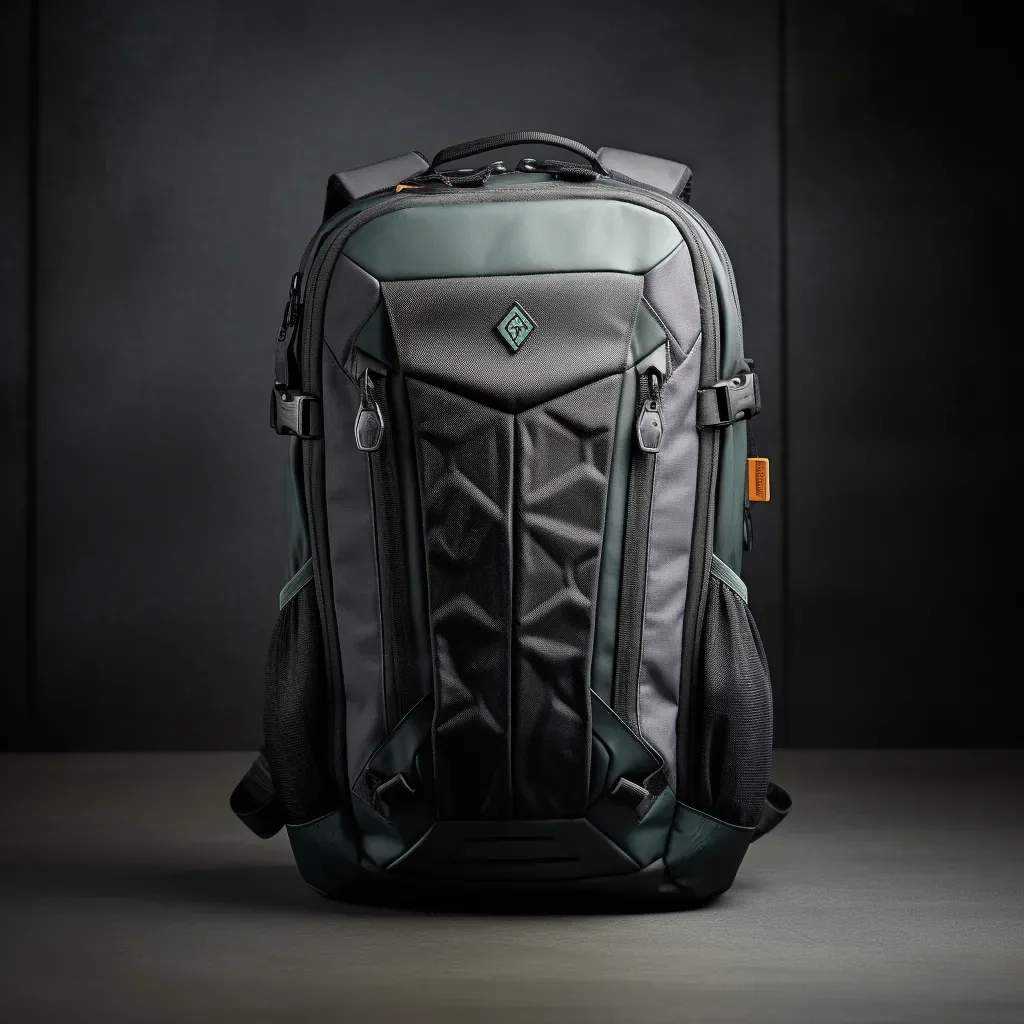
One shoot should serve every channel, which means files must be specified before the session rather than exported afterwards. Different channels impose different requirements on size, aspect ratio, background and file weight, and retrofitting a finished shoot to a marketplace specification is expensive and usually disappointing.
Naming is the detail that determines whether an archive remains usable. A convention fixed before the first shoot — style code, then colourway, then frame type — means a seasonal addition slots into the existing library without renaming anything, and means a wholesale linesheet can be assembled by filtering filenames rather than by hunting through folders. Brands that skip this step routinely find their second season's assets unusable alongside the first.
Usage rights are the commercial clause most often missed. Product photography used in paid advertising, in wholesale materials or supplied to a stockist may fall outside a standard licence. Agreeing the scope in writing at the booking stage costs far less than a retrospective licence negotiation once the assets are already live in a campaign.
Sequencing the Shoot into the Production Calendar
The sequence below places photography where it belongs: after the specification is fixed and the sealed sample exists, and after a realistic goods-arrival date is known. Working in this order avoids the two classic failures, shooting a sample that does not represent bulk and booking a studio before anything exists to photograph.
- Write the shot list during specification. Dimensions and frame requirements come from the written spec, not from a finished sample.
- Approve colour under retail lighting. Verify the sealed sample under the light the customer will see, and match it in the studio.
- Confirm the ex-factory date. Bulk is 35 to 50 days after sample approval; freight and customs follow.
- Book the studio against that date plus a buffer. Hold a contingency slot rather than betting on the first one.
- Shoot the sealed sample for campaign assets. Where the launch cannot move, early frames come from the sealed unit, which is by definition identical to bulk.
- Shoot bulk units for the grid. Production units are the truth the customer will receive; shoot them rather than the prototype.
- Document the setup. Camera height, distance, lens, light positions and background reference recorded for the next season.
- Export and archive on the day. Masters, derivatives and the colour target frame stored under the agreed naming convention.
Where a line is inspected at AQL 2.5 under ISO 2859-1 against a sealed sample, that sealed unit is also the most reliable photographic subject available before bulk lands, because inspection is judged against it. Using it for campaign frames and topping up with production units once they arrive gives a brand both a head start and an accurate grid.
Compliance has a photographic dimension too. Where a listing makes a material claim, imagery should support it honestly, and any certification referenced in copy should be substantiated in the compliance file — OEKO-TEX for textile components, REACH declarations for materials, and traceability documented through the tannery. Consistency between what the image shows, what the copy claims and what the file evidences is what keeps a listing defensible.
Planning a launch shoot for a bag line?
Send your styles, target channels and launch date. The programme team will confirm the sample and bulk dates your shoot depends on, and the specification details your shot list needs. Write to service@junyuanbags.com or reach us on WhatsApp at +86 177 5002 0688.
Frequently Asked Questions
When should private label bag photography be booked?
Book against the confirmed ex-factory date plus a realistic buffer for freight and customs, never against an optimistic one. Bulk takes 35 to 50 days after sample approval and sampling takes six to ten working days per round, so a studio day booked before those dates existed is usually paid for twice. Where a launch absolutely cannot move, shoot the sealed pre-production sample for campaign assets and top up with bulk units on arrival.
Which frames does a bag product page actually need?
Eight: a front silhouette, a three-quarter view showing depth, a worn or held view at the intended load, a scale reference, a material close-up in raking light, an interior view, a hardware detail and an edge or stitch detail. The hero frame earns the click, but the supporting frames earn the purchase and prevent the return. Consistency across the line matters more than the quality of any single frame, because visual inconsistency reads as a quality signal.
How should leather be lit for product photography?
Use one soft key with a raking fill to reveal grain, avoiding hard specular highlights that read as scratches. Saffiano and coated finishes need a broad soft source at a low raking angle; suede and nubuck need grazing light to show nap direction; patent needs a large diffused source with flags to control studio reflections. Retain natural marking and pore structure in retouching, since removing them removes the evidence that the material is what the copy claims.
Why do bag images cause so many returns?
Because three questions go unanswered: how big it is, what the material really looks like, and how it behaves when worn. A bag photographed empty looks smaller and slacker than the one received; a strap shortened for a tidier frame differs from the specified drop; and an over-softened close-up hides texture. Shooting at the intended load, setting the specified strap drop and preserving honest texture removes most of that gap.
Should the sample or the bulk unit be photographed?
Both, in sequence. The sealed pre-production sample is the reference inspection is judged against, so it is identical to bulk by definition and is the right subject for early campaign assets. The product grid should be shot on bulk units, because those are what the customer receives and subtle differences between a prototype and production are exactly what generates disputes. Top up the grid after goods land.
How do you keep colour accurate across a bag catalogue?
Shoot a calibrated target in the first frame of every setup, work in a wide colour space, and correct against the approved physical swatch rather than against a screen. Keep the sealed sample on the studio table throughout so any dispute can be settled by comparison under the same light. Shoot all colourways in one session under identical settings, since re-shooting later produces shades that look like different products.
What causes a leather colour approved in one place to be rejected in another?
Metamerism: the shift in perceived colour between light sources. A hide approved under studio conditions can read differently under warm retail lighting, and the customer sees the retail condition. Verify the sealed sample under the lighting specified for the retail environment, match that standard in the studio, and record it in the specification so that approval, photography and the selling environment all agree.
Is studio or location photography better for a bag launch?
Most lines need studio first and lifestyle second. Studio delivers the consistency a product grid and a marketplace listing require, with predictable cost and repeatable setup. Lifestyle delivers the context that paid social and homepage banners need. Location work trades control for atmosphere and is the most likely to overrun, so it suits campaign and seasonal editorial rather than the core product set.
How can a brand keep photography costs down across seasons?
Document the studio setup once: camera height, distance, lens, light positions, power settings and background reference. A reorder colourway or a new season addition can then be photographed to match the existing grid without re-booking a full creative day. Combine that with a fixed filename convention decided before the first shoot, and the archive stays usable rather than requiring a reshoot each season.
What file specification should a bag shoot deliver?
Master files retained unretouched in a wide colour space, plus compressed web derivatives sized to the largest channel requirement and exported down rather than up. Deliver square for grids, portrait for marketplaces and landscape for banners, cropped from a composed master. Hold pure neutral backgrounds separately for marketplace compliance and styled variants for brand channels, and retain the colour target frame with each setup.
Do bag brands need to worry about image usage rights?
Yes. Product photography used in paid advertising, supplied to stockists or reproduced in wholesale materials may fall outside a standard licence. Agreeing the scope in writing at the booking stage costs far less than a retrospective licence negotiation once assets are already live in a campaign. Address it alongside the photography and copyright ownership of the images themselves, which should sit with the brand.
How should bags be styled for lifestyle frames?
Subtract rather than add. Keep props monochrome and low-contrast so the eye goes to the product, show the bag on a body matching the target customer, and shoot the closure both open and closed since static frames hide how a bag opens. Fill to the intended load, because leather and structured panels sit better with something inside, and avoid over-retouching the natural marking that evidences the material.
Can photography support compliance claims for a bag listing?
It should be consistent with them. Where copy makes a material claim, imagery should show the material honestly, and any certification referenced should be substantiated in the compliance file: OEKO-TEX confirmation for textile components, REACH declarations for materials, and traceability documented through the tannery. Consistency between what the image shows, what the copy claims and what the file evidences is what keeps a listing defensible.
How many images should a private label bag line commission?
Plan eight frames per style and colourway as the baseline, more where a style has a convertible or organisational feature worth demonstrating. Fewer than that leaves size, material or behaviour unanswered, and unanswered questions convert into returns. A line of six styles across two colourways is therefore a substantial but manageable session, provided the setup is documented and the shot list is written before the day.
What is the most common photography mistake bag brands make?
Booking the studio before an ex-factory date exists. It produces either an empty studio day paid in full or a shoot on a prototype that does not represent bulk. The second most common is photographing the bag empty with the strap shortened, which makes the product look smaller and tidier than the one the customer receives. Both are scheduling and briefing failures rather than creative ones, and both are avoidable.