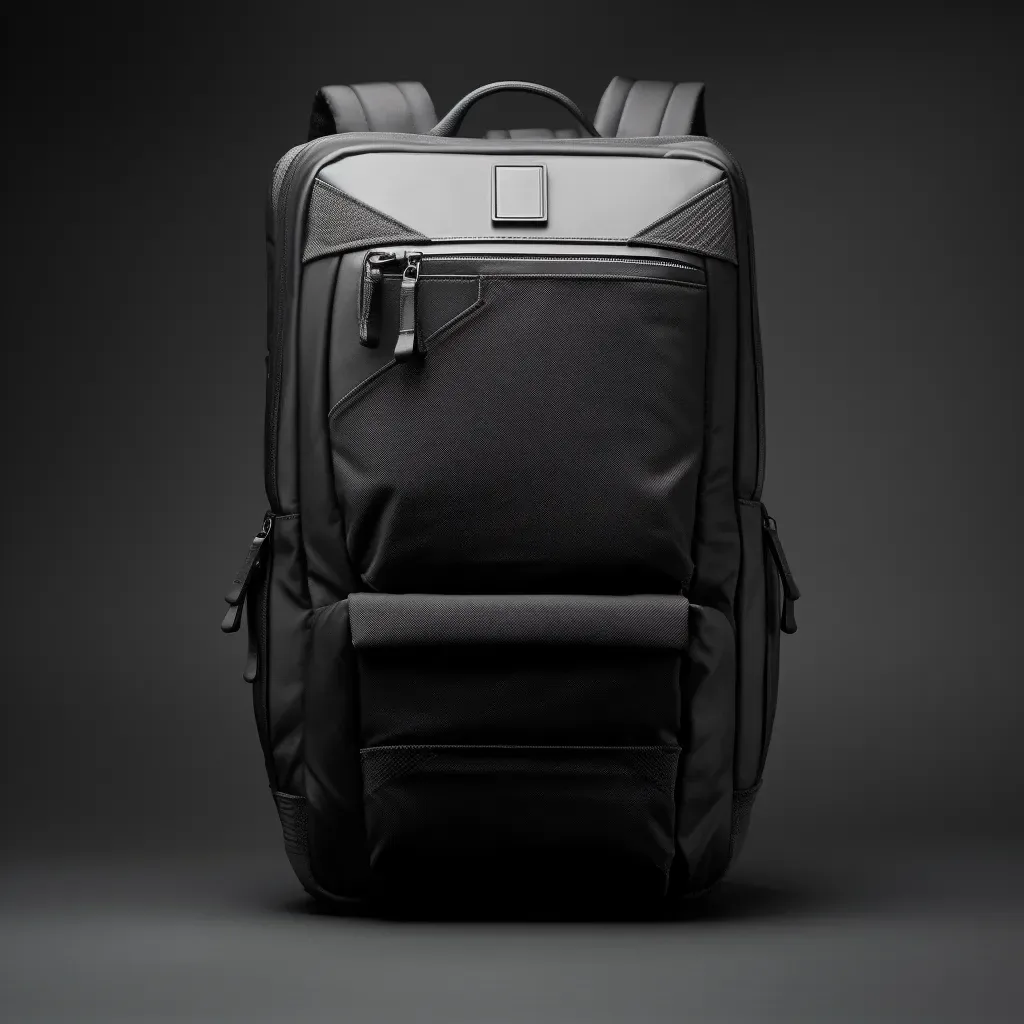
Bag prototyping is the process of turning a pattern into a physical sample that can be handled, loaded and assessed. It begins with pattern-making, which translates a design into flat component shapes with seam allowances, and ends with a prototype built to the intended materials and construction. A prototype exists to answer questions a drawing cannot: how the leather folds, how the hardware seats, how the bag hangs when filled and whether the proportions read as intended.
This article follows that journey from pattern to physical sample, covering the build sequence, the materials used at the prototype stage, how to evaluate a prototype objectively and how iteration turns feedback into a better next sample. It is written for designers, product developers and brand owners who want the prototype stage to resolve questions rather than raise them.
Prototyping is the cheapest point in the whole process to discover that something does not work. A change made to a pattern costs an afternoon; the same change discovered after bulk production costs a partial run and possibly remade tooling. That asymmetry is the reason prototyping deserves more time than it is often given, and why a first prototype should be judged critically rather than protectively.
Programme parameters at a glance
| Parameter | Commitment |
|---|---|
| Minimum order quantity | 500 pieces per style / colourway |
| Sampling lead time | 6–10 working days (12–15 days for complex constructions) |
| Bulk production lead time | 35–50 days after sample approval |
| Inspection standard | AQL 2.5 (ISO 2859-1), single sampling, general level II |
| Incoterms | FOB Xiamen — EXW, CIF and DDP available on request |
| Payment terms | T/T 30% deposit / 70% before shipment; L/C at sight for container loads |
| Verified production floor space | 4,950 m² (SGS-verified) |
| Team | 137 staff across 7 production lines |
| Equipment | 149 machines including computerised saddle-stitch and edge-painting units |
| Monthly capacity | 200,000 pieces |
| Entity | Founded 2014; principal has worked in bag development since 2004 |
What Bag Prototyping Is and What It Achieves
Prototyping serves four purposes at once. It proves that the pattern produces the intended form, confirms that the materials behave as expected, tests the function of the bag in use and gives the brand something concrete to approve or reject. A prototype is not a marketing mock-up; it is a working specimen built to reveal problems while they are still cheap to fix.
| Purpose | Question it answers | Output |
|---|---|---|
| Prove the pattern | Do the components fit and form the intended shape? | Corrected pattern set |
| Confirm materials | Does the chosen leather suit the construction and fold cleanly? | Material decision confirmed or revised |
| Test function | Does the bag work when opened, closed, carried and loaded? | Functional change list |
| Verify proportion | Does the bag read as intended against the market? | Dimension adjustments |
| Fix specification | Have all construction details been resolved in writing? | Updated technical pack |
| Enable approval | Is there a physical reference for the run? | Approved prototype |
The first prototype is a question, not an answer. It is normal for it to reveal several things to change, and a prototype that comes back perfect on the first attempt more often signals lenient evaluation than a flawless design. The measure of a good prototyping process is not how few prototypes are made, but how completely each one resolves the questions it was built to test.
From Pattern to Prototype: The Build Sequence
The prototype is built in a fixed order, working from the inside out so that structural work is completed before the bag is closed. Building in sequence matters more at the prototype stage than anywhere else, because the point of the exercise is to learn how each step behaves — a sequence rushed here produces a sample that cannot be assessed accurately.
- Draft the pattern from the design, adding seam allowances and marking grain direction on every panel.
- Cut a first test in a low-cost material to check that the panels fit and the shapes assemble before committing leather.
- Select prototype leather that matches the intended production material in thickness and temper, not merely in colour.
- Skive and prepare the panels, re-confirming thickness settings for the material in hand.
- Build sub-assemblies — straps, handles, reinforced panels — as separate units before joining them to the body.
- Assemble the body, attach the lining, set the hardware and finish the edges to the intended standard.
- Record every deviation from the drawing as it occurs, so the next revision starts from evidence rather than memory.
The test cut in a low-cost material is a step often skipped and worth keeping. It costs little and catches the pattern errors — a panel too short, a gusset that does not align — that would otherwise be discovered in leather. Where a design is genuinely new, pairing the test cut with the leather prototype is the fastest way to reach a correct pattern.
Pattern-Making: The Foundation of the Prototype
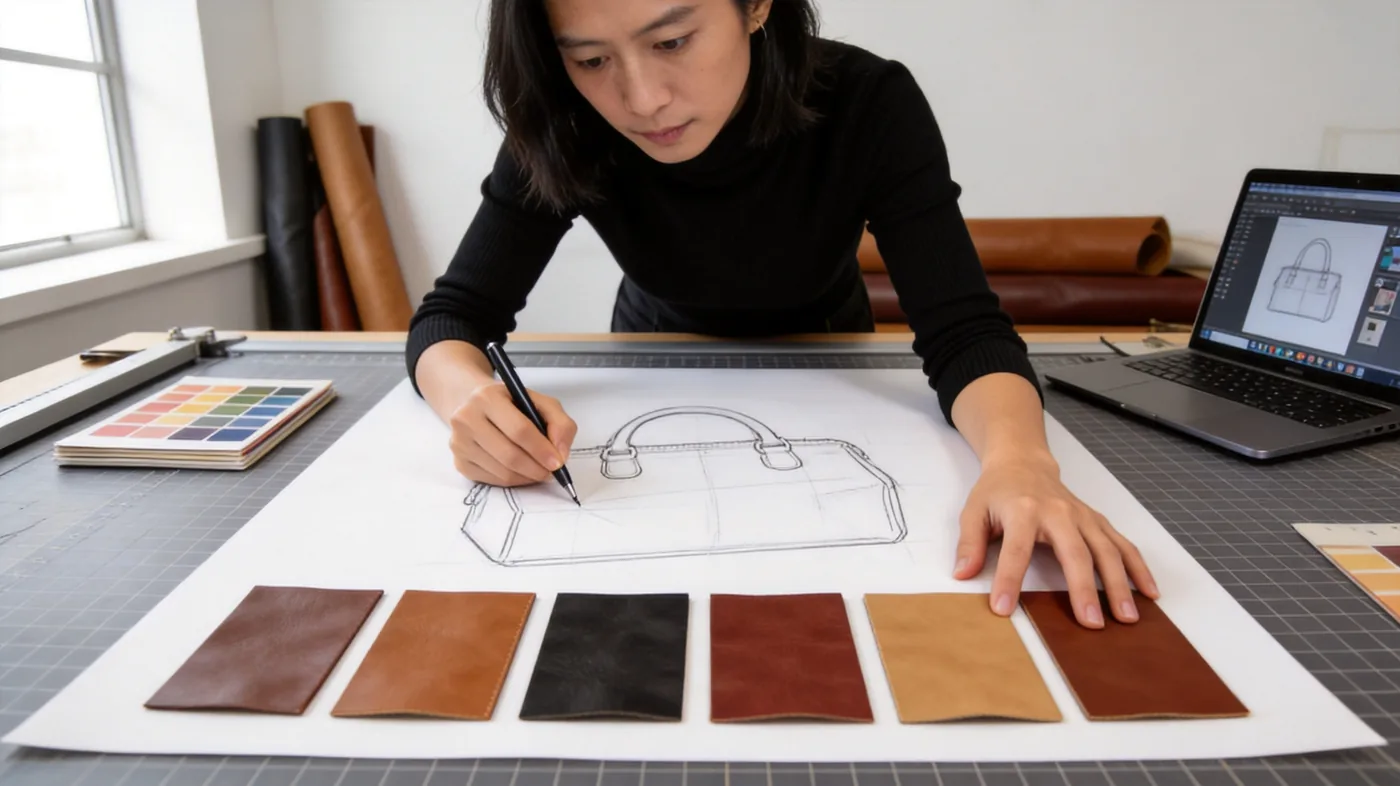
Everything the prototype becomes is decided by the pattern. A pattern converts a three-dimensional form — a bag with a base, depth, a curved top and a gusset — into flat shapes that, when assembled, recreate that form. This is not a simple tracing exercise: leather curves, stretches and takes a set, and a pattern that works in stiff card may behave differently once the material has a grain and a hand.
| Pattern element | What it defines | Consequence if wrong |
|---|---|---|
| Panel shapes | The silhouette and proportion of the finished bag | Distorted form that cannot be corrected by assembly |
| Seam allowances | How much material is consumed at each join | Panels that do not meet or that bunch at the seams |
| Gusset geometry | The depth, base and opening of the bag | A bag that will not sit flat or open correctly |
| Grain direction | How each panel is oriented to the hide | Panels that stretch differently and lose shape |
| Fold and crease lines | Where the leather is folded or turned | Bulky or wandering edges |
| Hardware holes and slots | The punctures and cut-outs for fittings | Hardware that will not seat |
Pattern-making is craft as much as engineering. An experienced pattern cutter anticipates how a specific leather will behave — how much it will stretch on a curve, how much spring it will hold on a fold — and adjusts the flat shape accordingly. That judgement is why the prototype stage benefits from a pattern cutter who has handled the material before, and why a pattern is rarely right the first time when a new leather is introduced.
Materials for Prototyping
Prototype materials should match the intended production material in the properties that affect construction, which are primarily thickness, temper and stretch. Colour matters less at this stage, because colour is easy to change and shape is not. Selecting a firm leather for a prototype that will be produced in a soft one, for instance, will produce a sample that holds its form while the production version will not.
| Prototype material | When it is used | What it reveals | What it hides |
|---|---|---|---|
| Low-cost card or board | Pattern check before any stitching | Panel fit and shape errors | Nothing about how leather behaves |
| Cheaper split hide | Structural testing at low cost | Construction and load behaviour | The look and hand of the production leather |
| Production-matched leather | Final prototype before approval | Fold, drape, grain and finish exactly as it will be | Nothing, which is why it is used last |
| Correct-temper substitute | Early prototypes when the production leather is short | Approximate construction behaviour | Subtle differences in hand and finish |
| Production lining and hardware | Final prototype | Interior fit and hardware seating | Nothing, if the part numbers are correct |
The practical approach is to prototype in stages: a test cut to fix the pattern, a cheaper-hide build to fix the construction, and a final prototype in production-matched materials to approve the look and hand. This staged approach spends the expensive leather only once the pattern and construction are already sound, which is both faster and cheaper than rebuilding the same mistakes in premium material.
The Prototype Evaluation: What to Look For
A prototype should be evaluated against the specification first and against the original idea second, so that the assessment is objective. Handling the bag — loading it, opening it, carrying it — reveals functional issues that a visual inspection will miss, and those functional issues are exactly what a prototype exists to surface.
- Check every critical dimension against the schedule, marking where the prototype deviates and by how much.
- Open and close each closure repeatedly, noting whether the zip runs cleanly and whether locks and snaps seat positively.
- Load the bag to its intended working weight and observe how the leather stretches and how the handles and straps behave.
- Inspect the folds and edges for bulk, puckering or wandering, which indicate a skiving or pattern issue.
- Confirm hardware is the approved part number and finish, not a stand-in used for speed.
- Assess the lining for register, tension and how it sits when the bag is open and empty.
- Note grain and shade consistency across panels, which predicts how a run will look when multiple hides are used.
The distinction between a functional fault and a cosmetic preference is worth recording explicitly. A handle that cuts into the hand when loaded is a fault to fix; a slightly deeper curve on a flap is a preference to decide. Keeping the two categories separate prevents a preference from consuming a revision round that a fault should have used.
Iteration: Turning Feedback into the Next Prototype
Iteration is the mechanism that makes prototyping productive. Feedback from an evaluation is only useful if it becomes a specific, actionable change, so each comment should be attached to a pattern adjustment, a material change or a construction revision. Vague feedback such as 'make it better' produces a prototype that is different without being better.
| Feedback type | Example | How it becomes a change |
|---|---|---|
| Dimensional | The bag is 15 mm too wide for the target market | Adjust the pattern and re-cut the body panels |
| Functional | The zip binds when the bag is full | Re-specify the zip length or the opening geometry |
| Structural | The base sags under load | Add or reposition internal reinforcement in the pack |
| Material | The leather scuffs too easily for daily use | Re-source to a more durable finish at similar thickness |
| Cosmetic | The flap curve should be softer | Adjust the pattern curve and re-sample the flap only |
| Hardware | The ring feels light for the bag's weight | Up-rate the part number and confirm the plating match |
| Presentation | The logo reads too small on the front panel | Adjust the placement and size on the pattern |
Where several changes are needed, grouping them into a single revision round is more efficient than making them one at a time, provided the changes do not interact. Some do interact — widening a bag may change how a strap sits — so a revision round should be planned as a set of changes whose combined effect can be evaluated together, rather than as an arbitrary list.
Prototype Cost and Timeline
Prototyping occupies a defined window within development. Most styles reach a physical sample in 6–10 working days, extending to 12–15 for complex constructions with curled edges, multiple compartments or hard-shell elements. Each additional revision round adds time, which is why the aim of each round is to resolve as many issues as possible at once.
The cost of prototyping is best understood as insurance rather than overhead. An extra round costs a sample; discovering the same fault in bulk costs a run. Brands that invest two rounds in a genuinely new construction routinely recover that investment in the first bulk order by avoiding rework, and they enter production with a specification that has already survived contact with the material.
From Prototype to Production Sample
The final prototype is not yet the production reference. It is the design made correctly; the production sample is the design made in the actual production materials and, where possible, on the production line. The distinction matters because production lots can differ from development stock, and only a prototype built from the real lot will reveal that difference before the run commits.
| Stage | Built from | Purpose | Approval |
|---|---|---|---|
| Test cut | Low-cost card or board | Fix the pattern before spending on material | Pattern corrected and re-cut |
| Development prototype | Cheaper or substitute hide | Fix construction, function and proportion | Design changes agreed |
| Final prototype | Production-matched material | Confirm look, hand and construction | Design frozen |
| Pre-production sample | Actual production lot | Confirm the lot reproduces the reference | Run released |
| Approved sample | Production materials | Become the on-line reference for the run | Retained on the line |
When the pre-production sample matches the approved prototype, the run can proceed with confidence and the pattern, technical pack and material lot all stand confirmed. That is the point at which prototyping has done its work: the bag exists as a proven object, the specification describes it completely, and production becomes reproduction rather than discovery.
Prototype your bag with production in mind
Share your design, reference bag or technical pack with the programme team at service@junyuanbags.com, or on WhatsApp at +86 177 5002 0688. We will advise on pattern, prototype materials and revision strategy, and quote a sampling window for your construction.
Frequently Asked Questions
What is bag prototyping?
Bag prototyping is the process of turning a pattern into a physical sample that can be handled, loaded and assessed. It begins with pattern-making and ends with a prototype built to the intended materials and construction. A prototype exists to answer questions a drawing cannot: how the leather folds, how the hardware seats, how the bag hangs when filled and whether the proportions read as intended.
What is the difference between a prototype and a sample?
A prototype is built to reveal problems and refine the design, and it may use substitute materials to control cost. A sample — particularly a pre-production sample — is built in the actual production materials to confirm the design can be reproduced at volume. The prototype asks whether the design works; the sample asks whether the production version matches it.
How long does it take to prototype a leather bag?
Most styles reach a physical sample in 6–10 working days from an approved specification, extending to 12–15 working days for complex constructions with curled edges, multiple compartments or hard-shell elements. Each additional revision round adds time, and sourcing a new leather specifically for the prototype can extend the window further.
Why is pattern-making the most important part of prototyping?
Because everything the prototype becomes is decided by the pattern. A pattern converts a three-dimensional form into flat shapes that recreate that form when assembled, and leather curves, stretches and takes a set rather than behaving like card. A pattern is rarely right the first time with a new leather, which is why the prototype stage exists to correct it before production.
Should I prototype in the final production leather?
The final prototype should be, because the final prototype is what you approve for look and hand. Earlier prototypes can use cheaper or substitute materials, provided they match production in thickness, temper and stretch, since those properties determine how the bag constructs and holds shape. Prototyping in stages spends the expensive leather only once the pattern and construction are already sound.
How many prototypes should I expect to make?
Most programmes should expect at least two, and a genuinely new construction may need three. A first prototype is a question rather than an answer, and a prototype that comes back perfect on the first attempt more often signals lenient evaluation than a flawless design. The measure of a good process is how completely each prototype resolves the questions it was built to test.
What is a test cut and why does it matter?
A test cut is a first build in low-cost material, such as card or board, to check that the panels fit and assemble before committing leather. It costs little and catches the pattern errors — a panel too short, a gusset that does not align — that would otherwise be found in expensive material. Where a design is genuinely new, pairing a test cut with the leather prototype is the fastest route to a correct pattern.
How do I evaluate a bag prototype objectively?
Evaluate it against the specification first and the original idea second. Check every critical dimension against the schedule, operate each closure repeatedly, load the bag to its working weight and observe how it stretches and carries, and inspect folds and edges for bulk or puckering. Separating functional faults from cosmetic preferences keeps a revision round focused on what actually needs fixing.
What does a prototype reveal that a drawing cannot?
A prototype reveals how the leather folds and takes a set, how the hardware seats and feels under load, how the bag hangs when filled and how the proportions read in three dimensions. None of these can be judged reliably from a drawing. It also reveals construction issues, such as a seam that will not lie flat, that only appear once real material is being stitched.
How many revision rounds should a prototype go through?
Most designs need at least one revision round, and complex constructions may need two. The aim of each round is to resolve as many issues as possible at once, so grouping non-interacting changes is more efficient than making them one at a time. What should be unusual is a revision caused by something the specification already covered, which signals an incomplete brief rather than a design change.
Does prototyping cost a lot?
Prototyping is development cost rather than production cost, and it is the cheapest stage at which to be wrong. An extra round costs a sample; discovering the same fault in bulk costs a run and possibly remade tooling. Brands that invest two rounds in a genuinely new construction routinely recover that investment in the first bulk order by avoiding rework and avoiding a specification that was never tested against the material.
What is the difference between a final prototype and a pre-production sample?
A final prototype is the design made correctly in production-matched material, and it freezes the design. A pre-production sample is built from the actual production lot, so it can reveal lot-based differences such as a shade shift or a firmer hand. Where the pre-production sample matches the approved prototype, the run can proceed with confidence; where it differs, the difference is resolved before bulk begins.
Why does grain direction matter in a prototype?
Because how each panel is oriented on the hide determines how it stretches and how the finished bag behaves. A panel cut across the grain may stretch more than one cut along it, so the same pattern can produce a bag that holds its shape or one that sags, depending on orientation. Marking grain direction on every pattern piece is what keeps a run dimensionally consistent.
How should prototype feedback be recorded?
Attach each comment to a specific, actionable change: a pattern adjustment, a material change or a construction revision. Vague feedback such as 'make it better' produces a prototype that is different without being better. Recording deviations as they occur during the build also means the next revision starts from evidence rather than memory, which reduces the number of rounds needed.
Can I skip prototyping and go straight to a production sample?
You can, and it is a common shortcut for repeating an existing design or changing only colour or branding. For a genuinely new construction it is a false economy, because the prototype stage is where pattern, construction and proportion are resolved at the lowest possible cost. Going straight to a production sample simply moves those discoveries into a stage where correcting them is more expensive.
Who makes the pattern for a prototype?
An experienced pattern cutter, ideally one who has handled the material in question, because pattern-making depends on anticipating how a specific leather behaves on curves and folds. That judgement is why a pattern is rarely right the first time with a new leather, and why the prototype stage is used to refine it. The pattern cutter and the sample maker often work closely together to resolve issues as they appear.