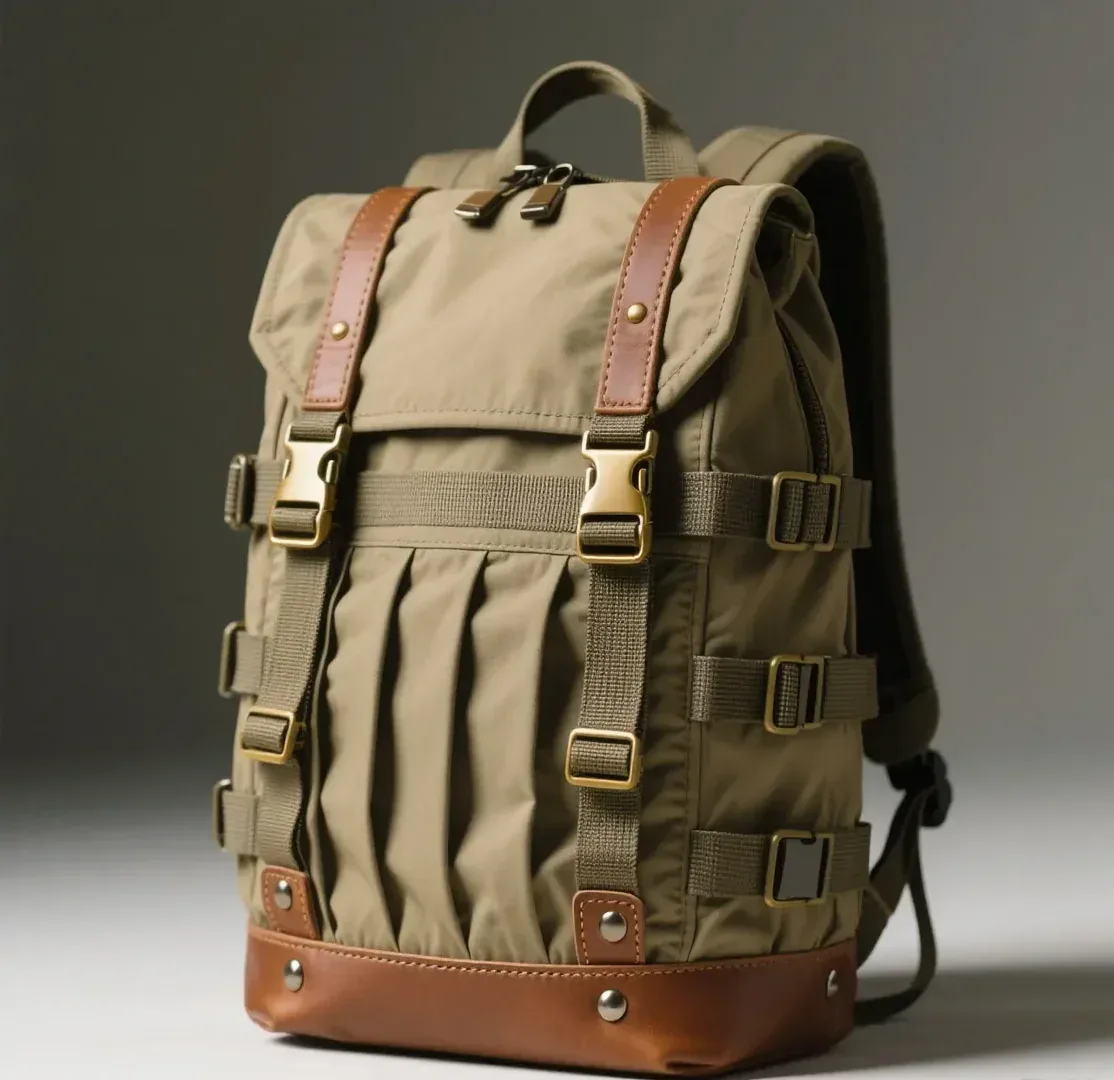
Hardware setting is the craft of fixing metal fittings, such as rivets, screw posts and snaps, to a bag securely and cleanly, and of reinforcing the stitching that surrounds them. It covers preparing the hole, adding backing so the leather does not stretch around the fitting, choosing the right rivet or screw for the load, setting it without marking the material, and stitching reinforcement where the fitting carries force. Set well, hardware becomes an invisible part of the construction; set poorly, it is the first thing a customer notices and the first thing to fail.
Hardware is unusual among bag components because it is both structural and decorative at once. A rivet may hold a strap anchor, and it also shows on the face of the bag. A screw post may make a handle removable, and it is also a visible detail. That double role means hardware setting has to satisfy engineering and appearance together, which is why it is one of the operations where a small lapse in care produces a large and immediate flaw.
This guide is written for brand owners and designers who specify bags and want to understand how hardware is set and why the method matters. It covers the main fitting types, how rivets and screws are set, how snaps and closures are handled, the backing and hole preparation that make a fitting hold, the stitching details that reinforce them, and how to test and inspect the result.
Programme parameters at a glance
| Parameter | Commitment |
|---|---|
| Minimum order quantity | 500 pieces per style / colourway |
| Sampling lead time | 6–10 working days (12–15 days for complex constructions) |
| Bulk production lead time | 35–50 days after sample approval |
| Inspection standard | AQL 2.5 (ISO 2859-1), single sampling, general level II |
| Incoterms | FOB Xiamen — EXW, CIF and DDP available on request |
| Payment terms | T/T 30% deposit / 70% before shipment; L/C at sight for container loads |
| Verified production floor space | 4,950 m² (SGS-verified) |
| Team | 137 staff across 7 production lines |
| Equipment | 149 machines including computerised saddle-stitch and edge-painting units |
| Monthly capacity | 200,000 pieces |
| Entity | Founded 2014; principal has worked in bag development since 2004 |
One principle runs through every technique here. Leather is not metal, so it does not hold a fitting the way a machined part would. Instead, it relies on the fitting being backed up so that load is spread, and on the leather around the fitting being firm enough not to deform. Every good hardware joint is therefore a sandwich: the fitting on the outside, the reinforcement inside, and the material between them held firm. Skip the backing and even the strongest rivet will loosen.
Why Hardware Setting Deserves Its Own Discipline
Hardware setting is often treated as the last few minutes of making a bag, but it determines whether the bag functions and how it is judged. Fittings are the points of force: where a strap attaches, where a bag opens, where a closure holds. They are also the most examined details, since they are small, metallic and visually distinct against leather. A fitting set slightly off-centre, a rivet that has marked the leather or a screw that does not sit flush is more noticeable than a similar lapse anywhere else on the bag.
| Role | What hardware does | What fails without good setting |
|---|---|---|
| Structural | Holds straps, handles and anchors | Fitting pulls out under load |
| Functional | Closes, opens and adjusts the bag | Closure jams or releases |
| Decorative | Adds finish and design detail | Loose or misaligned fittings |
| Protective | Covers wear points such as base feet | Base wears through quickly |
| Adjustable | Lets straps and handles be changed | Fitting loosens or strips |
The cost of getting it wrong is also disproportionate. A hardware fault usually cannot be repaired invisibly; removing a rivet may damage the leather around it, and a screw that has stripped its threads may not hold again. That is why hardware is set once, correctly, and why the preparation behind it matters more than the setting itself. The visible act is brief; the preparation is where the quality lives.
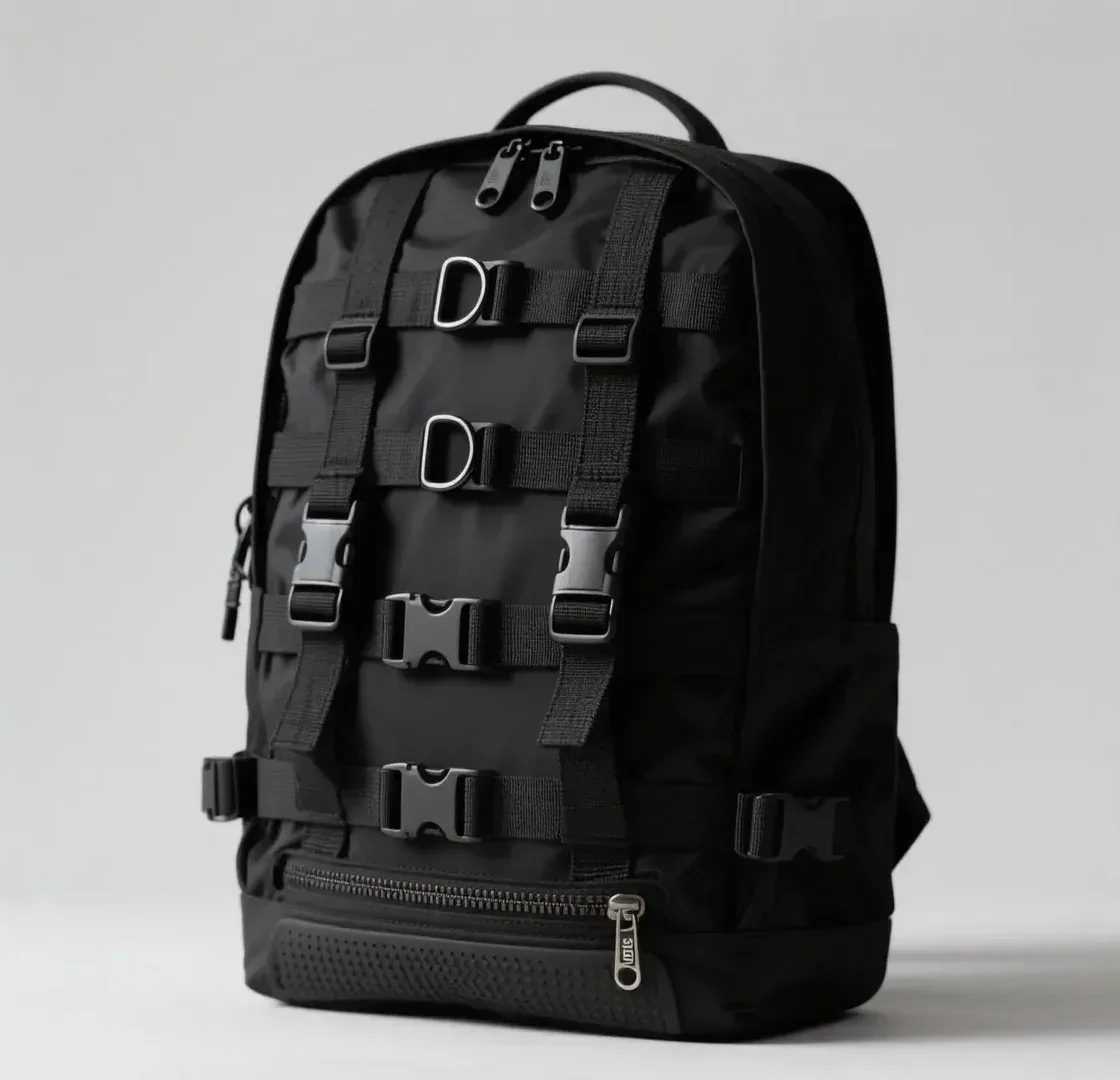
Rivets: Types and How They Are Set
A rivet is a permanent fitting that joins two or more layers of leather by passing through them and being compressed or split to hold. There are several types. A tubular rivet has a hollow shank that is rolled or flared to lock it; a bifurcated or split rivet has legs that are bent outward; a solid rivet is deformed over a burr; and a double-cap rivet shows a finished head on both faces, which is useful where both sides of the joint are visible. Each holds differently and suits a different appearance.
Setting a rivet begins with the hole. The hole must be the right size for the shank: too large and the rivet will not grip, too small and the leather will distort or tear as the rivet is forced through. The rivet is placed, then compressed using a setting tool, a hand press or a hammer and setter, so the shank flares and traps the layers. The aim is a firm, flush joint that does not compress the leather so hard that it marks or splits.
| Rivet type | How it holds | Appearance | Typical use |
|---|---|---|---|
| Tubular | Hollow shank rolled or flared | Low profile, one visible head | General anchor points |
| Bifurcated (split) | Legs bent outward | Hidden back, neat front | Light to medium joints |
| Solid | Shank deformed over a burr | Strong, traditional | Heavy stress points |
| Double cap | Head finished on both faces | Finished both sides | Visible two-sided joints |
| Screw-backed | Rivet front with a screw post | Removable look | Decorative or adjustable |
Rivets are unforgiving of error. Once set, a rivet cannot easily be adjusted, and removing one usually enlarges the hole and damages the surrounding leather. That means the hole position, the layer thickness and the backing must all be right before the rivet is set. Where a rivet sits at a load point, such as a strap anchor, the layers behind it should include reinforcement so the rivet is not carrying the load through soft leather alone.
- Punch the hole to the exact size for the rivet shank.
- Include backing or reinforcement so the rivet does not sit in soft leather alone.
- Keep layer thickness within the range the rivet is designed for.
- Set the rivet squarely so the head sits flush, not tilted.
- Avoid over-compressing, which marks or splits the leather.
- Check the joint for firmness before the rivet is finally closed.
Screw Posts and Removable Fittings
A screw post, sometimes called a binding screw or Chicago screw, joins two parts with a male and female half that thread together. Unlike a rivet, it can be undone, which makes it ideal for fittings that may need to be removed or replaced, such as a detachable handle or a decorative plate. Because it is threaded, it can also be tightened if it works loose, though this is both an advantage and a risk: if it loosens in use, the fitting can come apart.
Setting a screw post is less permanent but requires the same preparation. The hole must match the post diameter, the leather must be the right thickness for the post length, and the two halves must align so the threads engage squarely. A screw post fitted at an angle will cross-thread or sit proud, and a post that is too short will not grip enough threads to hold. Where a screw post carries load, it needs the same backing as a rivet, since the leather around it is still the weak point.
- Match the post diameter to the punched hole.
- Match the post length to the thickness of the layers.
- Align the two halves so the threads engage squarely, not cross-threaded.
- Add backing so the leather does not deform around the post.
- Check that the head sits flush rather than proud of the surface.
- Confirm the fitting can be tightened without compressing the leather.
Removable fittings raise a question of ownership and maintenance. Because they can be undone, they invite the user to adjust or replace parts, which is convenient but means the fitting must be robust enough to survive repeated handling. A screw post is a good choice where a brand wants a fitting to be serviceable, but it should be specified with the load and the expected handling in mind, not chosen purely because it can be assembled without a press.
Snap Fasteners and Magnetic Closures
Snap fasteners and magnetic closures are functional fittings that open and close the bag, and they have their own setting requirements. A snap, or press stud, has two halves that clip together, usually set through a flap and a body panel with a small reinforcing disc or backing behind each half. A magnetic closure may be a hidden magnet enclosed between layers, or an exposed magnetic fitting set through the material. Both depend on accurate alignment, because a snap that does not line up will not close, and a magnet that does not meet its counterpart will not hold.
Alignment is the hard part. The two halves of a closure are on different parts of the bag, and they only work if the flap or panel reaches them in exactly the right place. A small error in the position of one half can make the closure unusable, so closures are usually set with a template or a marking guide to keep the halves in register. The backing behind each half is also important, because the closure is pulled open repeatedly and the leather around it will deform without support.
| Closure | Setting method | Key control | Risk |
|---|---|---|---|
| Snap fastener | Two halves set through material | Accurate alignment | Snap will not close |
| Hidden magnet | Enclosed between layers | Position and layer thickness | Magnet does not meet |
| Exposed magnet | Set through the material | Backing and alignment | Pulls through or misaligns |
| Turn lock | Plate mounted and secured | Mounting and screw length | Loose plate or proud fit |
| Zip | Machine set into panels | End finishing | Strained or ragged ends |
Closures also interact with the bag's construction. A snap set through a flap works only if the flap's length and the closure's position are matched, which connects the closure back to the pattern. A hidden magnet must be enclosed without creating a lump, which depends on the layers around it. Where a closure is decorative rather than load bearing, as a magnetic snap often is on a soft bag, the specification can be lighter, but the alignment still has to be right for the bag to function.

Backing, Reinforcement and Holes
Backing is the least visible and most important part of hardware setting. Because leather deforms around a fitting, a rivet, screw or snap that is set through leather alone will eventually loosen the material around it and work free. A backing layer, an internal plate or a reinforcing disc spreads the load over a wider area, so the fitting pulls against a firm surface rather than a small patch of leather. Good hardware setting is therefore as much about what goes behind the fitting as what goes through it.
Holes are the other preparation that decides the result. A hole must be the correct size and shape for the fitting, cut cleanly and positioned accurately. A hole that is too large lets the fitting move; one that is too small distorts the leather as the fitting is inserted. For snaps and often for rivets, the hole is a specific shape or size that matches the setting tool, and using the right punch or die is what guarantees a clean, accurate hole rather than a torn one.
Edge distance is a small but decisive detail. A fitting placed too close to the edge of a panel or the end of a strap has little leather around it to resist tearing, however well it is backed. The pattern should allow a sensible margin between the fitting and any edge, and the setting should respect it. A hole placed near an edge is one of the commonest causes of a joint failing, because the leather simply splits away from the fitting under load.
Stitching Details Around Hardware
Hardware and stitching work together. Where a fitting sits at a load point, the stitching around it reinforces the joint, and the reinforcement often takes a recognisable pattern. A box-and-cross, a rectangle with a cross inside, is common at handle roots and strap anchors because it spreads the stress across a broad stitch field. A bar tack provides localised strength at a short point, and multiple parallel rows reinforce a section that will be pulled repeatedly.
| Stitch detail | Where used | Purpose |
|---|---|---|
| Box-and-cross | Handle roots, strap anchors | Spreads load over a wide field |
| Bar tack | Short reinforcement points | Adds localised strength |
| Parallel rows | High-load strap sections | Reinforces a repeated pull |
| Backstitch | Ends of any reinforcement | Locks the stitching in place |
| Edge stitch around a fitting | Around a set plate or snap | Firms the leather at the fitting |
Stitching also interacts with where the fitting is placed. A rivet or screw set immediately beside a stitch line can weaken the seam, because the hole is close to the perforations the needle has made. Spacing the fitting clear of the seam, and reinforcing the leather between them, keeps both the stitching and the fitting strong. On a well-made bag, the relationship between the fitting and the stitching around it is deliberate, even though it is rarely noticed.
A fitting is only as strong as the leather holding it. The rivet does not fail; the material around it gives up first.
Placement, Symmetry and Finish
Placement is where hardware setting becomes visible craft. Fittings should sit at the position the design intended, level with their counterpart on the other side of the bag and square to the panel. Two D-rings should be at the same height; two base feet should sit symmetrically; a plate should be horizontal. Because hardware is small and bright, any misalignment is amplified, and a bag with a slightly skewed fitting reads as less well made than one with none at all.
- Check that paired fittings sit at matching heights and positions.
- Confirm each fitting is level with the panel it sits on.
- Set the fitting squarely so it does not tilt or stand proud.
- Protect the leather surface while setting so it is not marked.
- Verify the fitting sits flush and does not catch on the contents.
- Match the finish of all hardware across the bag.
Finish is the second visible dimension. Hardware finish, whether polished, brushed, antique or a colour coating, should be consistent across the bag and chosen to suit the design. Plated hardware can wear through its coating over years of use, so the plating standard and base metal should suit the bag's expected life. Where a brand cares about its aesthetic, the finish should be confirmed to hold up under the abrasion that a handle fitting or closure receives daily.
Setting also has to protect the leather. A tool that slips, a hammer that rebounds or a press that over-compresses can leave a mark on the surface around the fitting, which cannot be removed. Good practice is to set hardware on a firm, protected surface with the correct tool, and to support the leather underneath so the force goes into the joint rather than into the material. The mark of an experienced setter is a fitting that sits perfectly in leather that looks untouched.
Testing, Standards and Quality Checks
Hardware is tested because it carries load and because failures are expensive. Fittings are pulled and loaded beyond their working strength to confirm that the joint holds, that the leather does not stretch or tear around the fitting and that the hardware does not deform. This is particularly important at strap and handle anchors, where a single fitting carries the whole weight of a loaded bag. Testing is done on the sample and, for production, on units drawn through routine inspection.
Standards also apply to hardware, chiefly for safety and materials. Where a fitting touches skin or may be mouthed by children, restrictions on nickel release and heavy metals apply, and standards such as REACH in Europe and CPSIA in the United States set limits on what hardware may contain. Hardware should be sourced and specified with these in mind, because a beautiful fitting that fails a compliance requirement is not a fitting a brand can ship.
| Check | What is examined | Why it matters |
|---|---|---|
| Security | Fitting firmly set, no movement | Prevents pull-out in use |
| Alignment | Level and symmetrical placement | Visible quality signal |
| Finish | Consistent and abrasion resistant | Lasts and looks correct |
| Surface | No marks around the fitting | Cannot be repaired if marked |
| Backing | Reinforcement behind the fitting | Spreads load, stops loosening |
| Compliance | Nickel and heavy-metal limits | Legal and safety requirement |
On programmes inspected to AQL 2.5 under ISO 2859-1, single sampling at general level II, hardware faults are treated seriously because they affect both function and appearance. An inspector checks that fittings are secure, that paired fittings align, that finishes match and that the leather around each fitting is unmarked. Because a loose or misaligned fitting cannot be corrected without risk of further damage, these checks are best carried out at the setting stage, where the joint can still be adjusted before it is closed.
The practical conclusion for a brand is that hardware setting is a small operation with an outsized consequence. The programme team can specify the fittings, the backing behind them, the hole preparation, the stitch reinforcement and the tolerance for placement, and confirm the result by testing before bulk. Hardware is often the last thing set on a bag and the first thing a customer inspects, which is exactly why it deserves to be planned rather than left to the final moments of making.
Specify the fitting and what is behind it
Share your design and the fittings you have in mind. The programme team will advise on rivets, screw posts and closures, the backing behind each fitting, hole preparation and reinforcement, and confirm security by testing before bulk.
Frequently Asked Questions
What does hardware setting mean in bag making?
Hardware setting is the craft of fixing metal fittings, such as rivets, screw posts and snaps, to a bag securely and cleanly, and of reinforcing the stitching around them. It covers preparing the hole, adding backing so the leather does not stretch, choosing the right fitting for the load, setting it without marking the material, and stitching reinforcement where the fitting carries force.
What are the main types of rivets used on bags?
Tubular rivets have a hollow shank that is rolled or flared to lock. Bifurcated or split rivets have legs bent outward. Solid rivets are deformed over a burr for a strong, traditional joint. Double-cap rivets show a finished head on both faces, useful where both sides are visible. Each holds differently and suits a different appearance and load.
How is a rivet set on a leather bag?
A hole is punched to the exact size for the rivet shank, the rivet is placed through the layers, and it is compressed using a setting tool, a hand press or a hammer and setter, so the shank flares and traps the material. The aim is a firm, flush joint that does not compress the leather so hard that it marks or splits.
Why does hardware come loose on a leather bag?
Hardware comes loose because leather deforms around a fitting. A rivet or snap set through leather alone will eventually loosen the material around it and work free under repeated load. The solution is backing: an internal plate or a reinforcing disc that spreads the load over a wider area, so the fitting pulls against a firm surface rather than a small patch of leather.
What is a screw post and when is it used?
A screw post, also called a binding screw or Chicago screw, joins two parts with a male and female half that thread together. Unlike a rivet it can be undone, which makes it ideal for fittings that may need removing or replacing, such as a detachable handle or a decorative plate. It can also be tightened if it works loose, though it must be correctly sized and backed.
What is the difference between a rivet and a screw post?
A rivet is permanent: it is compressed or split to lock and cannot easily be undone, and removing it usually damages the leather. A screw post threads together and can be undone, so it suits removable or serviceable fittings, but it can loosen in use. Both rely on backing behind them, because the leather around either fitting is the weak point.
How should a hole be prepared for bag hardware?
The hole must be the correct size and shape for the fitting, cut cleanly and positioned accurately. A hole that is too large lets the fitting move, while one that is too small distorts the leather as the fitting is inserted. For snaps and often for rivets, the hole matches the setting tool, so using the right punch or die produces a clean, accurate hole rather than a torn one.
Why does hardware need backing behind it?
Leather does not hold a fitting the way a machined part would; it deforms around it. Without backing, a rivet, screw or snap will loosen the material around it and eventually work free. An internal plate or a reinforcing disc spreads the load over a wider area, so the fitting pulls against a firm surface. Good hardware setting is as much about the backing as the fitting.
How are snap fasteners set on a bag?
A snap, or press stud, has two halves that clip together, usually set through a flap and a body panel with a small reinforcing disc behind each half. The main difficulty is alignment, because the two halves sit on different parts of the bag and only work if they meet exactly. Closures are therefore set with a template or marking guide to keep the halves in register.
How are magnetic closures fitted to a leather bag?
A magnetic closure may be a hidden magnet enclosed between layers, or an exposed magnetic fitting set through the material. Both depend on accurate alignment and enough support around the magnet, so the leather does not deform or the magnet does not pull through. A hidden magnet must be enclosed without creating a lump, which depends on the layers around it.
What is a box-and-cross stitch and where is it used?
A box-and-cross is a reinforcement stitch pattern, a rectangle with a cross inside, used where high load concentrates, such as a handle root or a strap anchor near hardware. By stitching across a wide area instead of one line, it distributes the pull so the leather is less likely to split along the stitches. It also firms the joint around a fitting.
Should hardware be placed close to a seam?
No. A rivet or screw set immediately beside a stitch line can weaken the seam, because the hole is close to the perforations the needle has already made. Spacing the fitting clear of the seam, and reinforcing the leather between them, keeps both the stitching and the fitting strong. The relationship between fitting and stitching should be deliberate.
Why does hardware placement matter so much?
Because hardware is small, metallic and visually distinct against leather, so any misalignment is amplified. Two D-rings should sit at the same height, two base feet should be symmetrical and a plate should be horizontal. A bag with a slightly skewed fitting reads as less well made, and the fault is usually impossible to correct without damaging the leather.
How is hardware tested for strength?
Fittings are pulled and loaded beyond their working strength to confirm the joint holds, the leather does not stretch or tear around the fitting and the hardware does not deform. This is especially important at strap and handle anchors, where one fitting may carry the whole weight of a loaded bag. Testing is done on the sample and on production units drawn through inspection.
What safety standards apply to bag hardware?
Where a fitting touches skin or may be mouthed by children, restrictions on nickel release and heavy metals apply. Standards such as REACH in Europe and CPSIA in the United States set limits on what hardware may contain. Hardware should be sourced and specified with these limits in mind, because a beautiful fitting that fails a compliance requirement cannot be shipped.
How does hardware finish wear over time?
Plated hardware can wear through its coating over years of handling, exposing a different metal beneath. That is why the plating standard and base metal should suit the bag's expected life and use. A handle fitting or closure receives daily abrasion, so its finish should be confirmed to hold up as well as to look correct when new.
How is hardware checked during quality inspection?
On programmes inspected to AQL 2.5 under ISO 2859-1, single sampling at general level II, hardware faults are treated seriously because they affect both function and appearance. Inspectors check that fittings are secure, that paired fittings align, that finishes match and that the leather around each fitting is unmarked, since a loose fitting cannot be corrected without risk of further damage.
Why is hardware set last on a bag?
Hardware is usually set after the bag is assembled, closed and finished, because the fittings are the final detail and their placement depends on the completed shape. That timing makes care essential, since the bag is already nearly finished and a marked or misaligned fitting cannot be reworked without risk. It is also why hardware setting is planned earlier, at the pattern stage.
Can hardware be replaced on a finished bag?
It depends on the fitting. Screw posts and some removable fittings can be undone and replaced, which is one reason they are chosen for parts that may need service. Rivets, snaps and enclosed magnets are set permanently and are difficult to replace without damaging the leather around them, so the fitting and its backing should be right the first time.
How long does hardware setting take in production?
Hardware setting sits at the end of assembly and bulk production, which typically runs thirty-five to fifty days after sample approval. The fittings, their backing and their alignment are proven during sampling, which normally takes six to ten working days, or twelve to fifteen for complex constructions, so that the final setting operation on the bulk goods is repeatable.