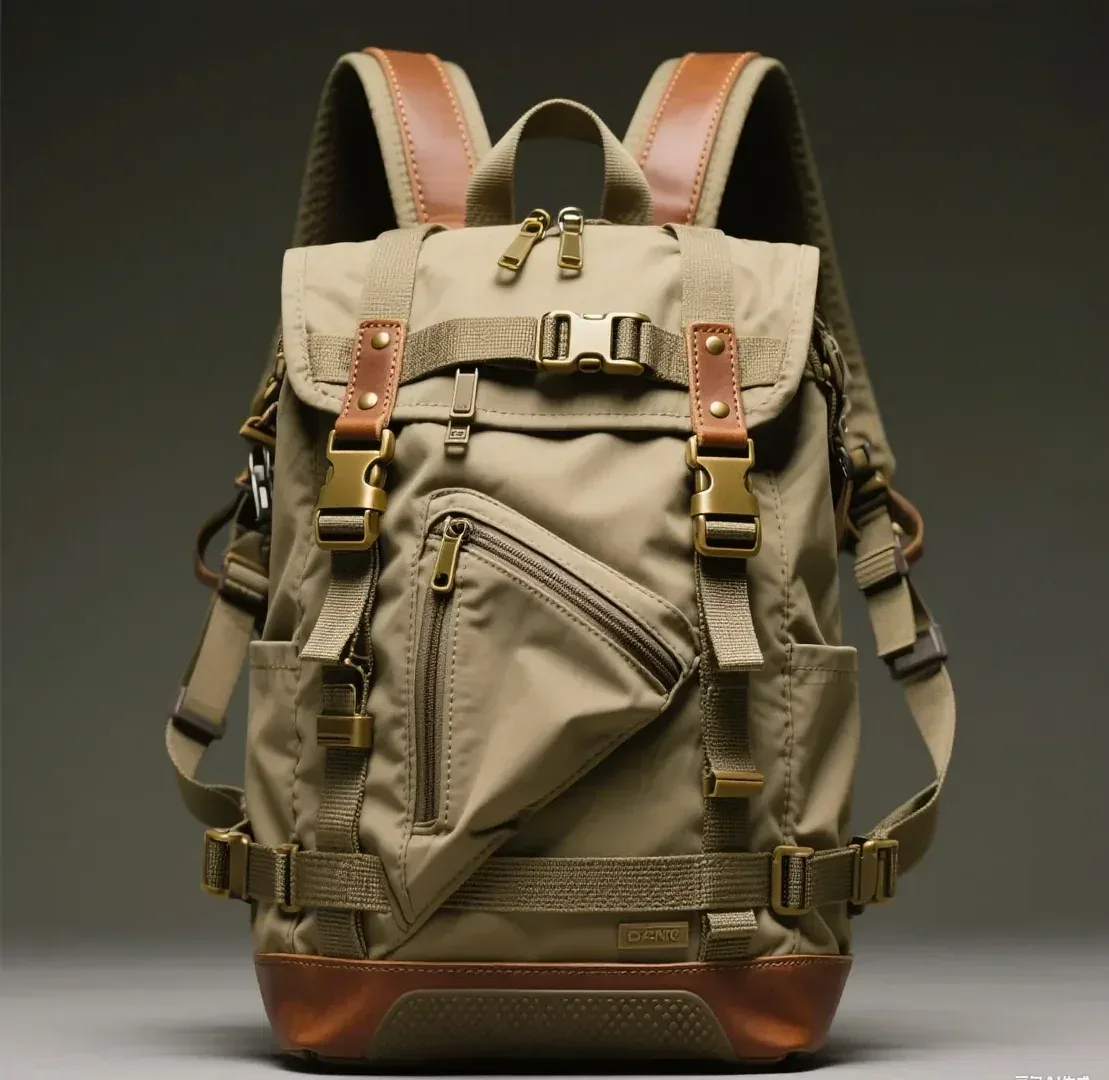
The OEM bag sampling process converts a digital specification into a physical object through six stages: pattern making, cutting and preparation, assembly, hardware fitting, finishing, and review. Sampling takes 6 to 10 working days, or 12 to 15 for complex constructions. Understanding what happens at each stage lets a brand supply the right information, review the right things and keep the number of rounds to two.
The purpose of sampling is not to discover whether a bag can be made; the feasibility review establishes that. It is to discover whether the specification produces the object you intended, and to expose the assumptions that were invisible in the drawing.
Programme parameters at a glance
| Parameter | Commitment |
|---|---|
| Minimum order quantity | 500 pieces per style / colourway |
| Sampling lead time | 6–10 working days (12–15 days for complex constructions) |
| Bulk production lead time | 35–50 days after sample approval |
| Inspection standard | AQL 2.5 (ISO 2859-1), single sampling, general level II |
| Incoterms | FOB Xiamen — EXW, CIF and DDP available on request |
| Payment terms | T/T 30% deposit / 70% before shipment; L/C at sight for container loads |
| Verified production floor space | 4,950 m² (SGS-verified) |
| Team | 137 staff across 7 production lines |
| Equipment | 149 machines including computerised saddle-stitch and edge-painting units |
| Monthly capacity | 200,000 pieces |
| Entity | Founded 2014; principal has worked in bag development since 2004 |
What Sampling Is Actually For
A sample answers questions a drawing cannot. How does the leather fall at the gusset? Does the handle sit where the drawing placed it? Is the closure accessible when the bag is loaded? None of these can be resolved on screen, and all of them determine whether the product works.
Sampling is also the cheapest place to make mistakes. A pattern corrected at this stage costs a few hours; the same correction discovered in bulk costs materials, line time and the delivery date. This asymmetry is the whole argument for investing in the process rather than rushing it.
- Proving the pattern: whether the panels assemble into the intended silhouette.
- Testing material behaviour: how the specified leather folds, skives and takes edge finish.
- Verifying hardware fit: whether the specified closure, feet and fittings sit correctly.
- Checking proportion and balance: handle drop, stance and how the bag sits when loaded.
- Confirming branding scale: whether an emboss or plate is legible and correctly placed.
- Establishing the reference: the object against which bulk will later be inspected.
Brands that treat sampling as a formality tend to approve the first sample because it is close enough, then spend the bulk phase managing the consequences. Brands that treat it as an instrument find the faults early, when they are cheap.
We run OEM and ODM programmes from Quanzhou, Fujian, where the sample room sits alongside the production floor. That arrangement matters: the people who will build the bulk are the same people who build the sample, so what is learned in development transfers directly.
It is worth asking your partner whether that is the case. Where sampling is subcontracted to a separate workshop, the knowledge gained in development has to be re-taught to the production line, and the first bulk run repeats the learning curve the sample already paid for.
From CAD to Pattern
The process begins with the digital file. Whether you supply a CAD drawing, a dimensioned sketch or a physical reference, the pattern maker's first task is to translate it into a set of panels that can be cut, sewn and assembled into the intended three-dimensional form.
That translation is not mechanical. Leather has thickness, stretch and grain direction, and the pattern must account for all three. A panel that is geometrically correct on screen may pull or distort in the material, and the compensation for that is the pattern maker's craft.
| Input | What the pattern maker does with it | What the brand should supply |
|---|---|---|
| CAD or vector drawing | Converts outlines into panels with seam allowances | Dimensioned views with tolerances in millimetres |
| Physical reference | Measures and reverse-engineers the panels | The reference, marked where it differs from intent |
| Bill of materials | Confirms substance affects panel fit | Substance, tannage and stretch characteristics |
| Construction notes | Determines seam allowances and sequence | Seam type, stitch density and reinforcement |
| Hardware drawings | Establishes placement and reinforcement | Supplier codes, plating and fixing method |
| Interior layout | Generates lining and pocket panels | Pocket dimensions and positions, drawn |
Grain direction deserves a note, because it is the least understood variable. Leather stretches more across the grain than along it, and a panel cut in the wrong direction will sag under load in a way that no amount of reinforcement fully corrects.
Once the pattern is drafted, it is usually cut in a cheaper material first, to check assembly before the specified leather is committed. That toile, or trial build, is where proportion problems are caught, and it is far cheaper to discard than a first sample in the specified hide.
Digital pattern making has shortened this stage considerably. Grading, nesting and marker generation are now largely automated, and a pattern revised on screen can be re-cut within hours. What has not been automated is judgement about how a material behaves, which remains the reason an experienced pattern maker is worth the fee.
Cutting, Skiving and Preparation
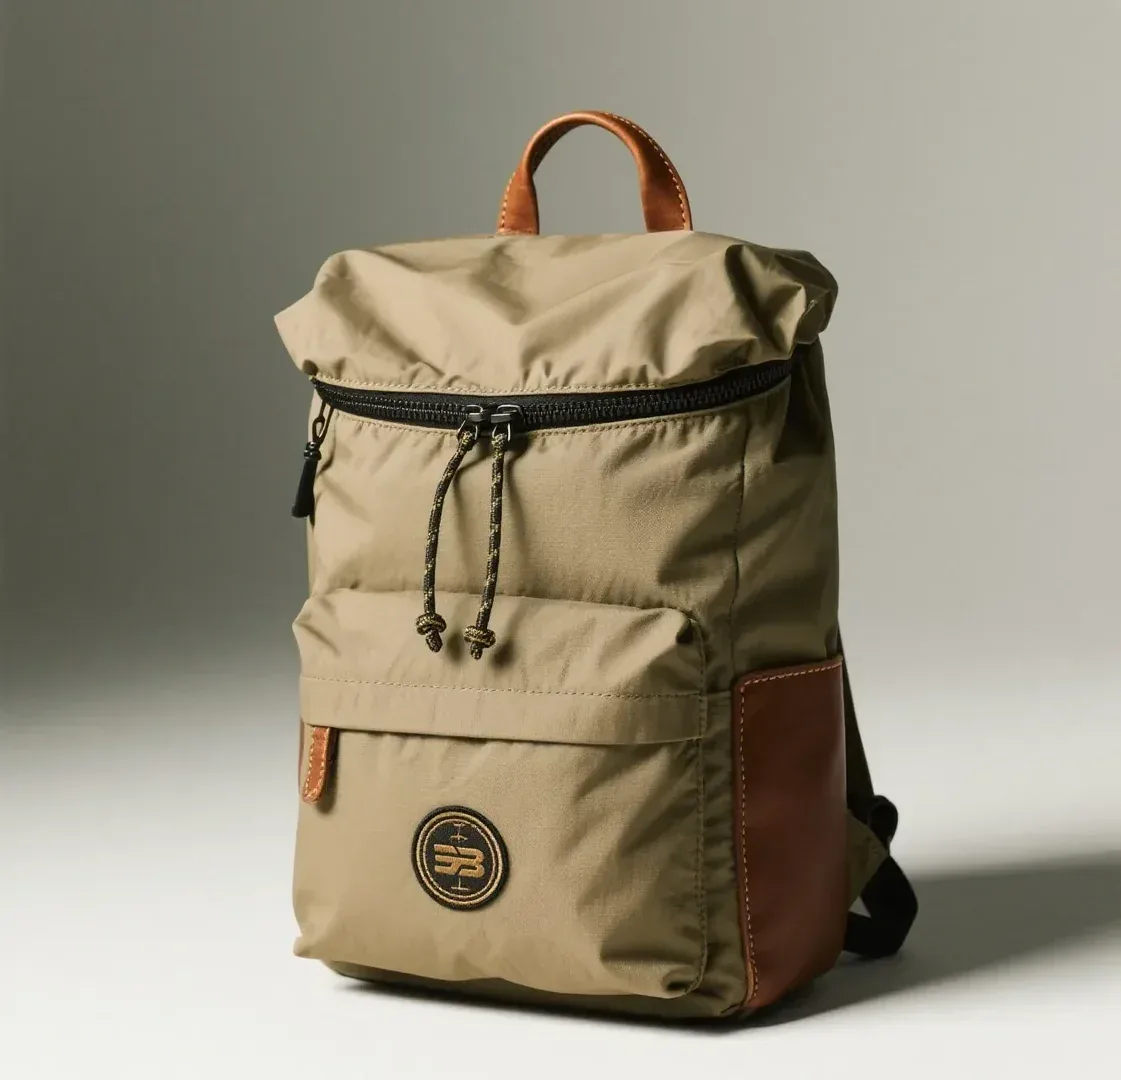
Cutting converts the pattern into components. In leather this is a selection exercise as much as a mechanical one, because every hide has variation, and the placement of panels determines both the appearance and the yield.
Skiving follows, reducing thickness wherever leather must fold or turn. It is the operation that allows a wallet to close flat and an edge to turn cleanly, and it is specified by residual thickness rather than by eye.
| Preparation step | Purpose | What goes wrong if skipped |
|---|---|---|
| Hide selection and grading | Matches panel to the right area of the hide | Visible defects placed on prominent panels |
| Nesting and cutting | Maximises yield and aligns grain direction | Panels that stretch or sag under load |
| Skiving | Reduces thickness at folds and turns | Bulky seams and edges that will not turn |
| Splitting | Brings material to the specified substance | Inconsistent hand between panels |
| Reinforcement application | Adds strength at load points | Handles and anchors that fail in use |
| Edge preparation | Bevels and sands before finishing | Edge paint that sits proud and chips |
Yield is the commercial variable in this stage. Two patterns of identical appearance can differ materially in how efficiently they nest on a hide, and that difference lands directly in the unit price. Panel engineering is therefore a costing exercise as well as a design one.
For the brand, the practical implication is that cutting is where material character is decided. If you have specified a hide with natural variation, expect each sample to differ slightly, and approve a range rather than a single unit.
Assembly, Closure and Hardware Fitting
Assembly is where the panels become a bag. The sequence matters, because some operations must precede others: a lining fitted before a closure may make the closure inaccessible, and a base inserted after the sides are joined may be impossible to seat.
- Sub-assembly: pockets, straps, handles and closures prepared before joining to the body.
- Body assembly: panels joined in the specified sequence, with reinforcement at load points.
- Lining insertion: fitted to the specified pocket layout and anchoring method.
- Hardware fitting: closures, feet, D-rings and plates set with the specified fixing method.
- Function testing: closures cycled, straps adjusted, and the bag loaded to check behaviour.
- Rectification: any operation that does not perform as intended, corrected before finishing.
Hardware fitting is the stage most likely to reveal a specification gap. A closure that fits the drawing may bind once the lining is in place, or a foot may not seat properly against a reinforced base. Those discoveries are normal, and they are precisely why the sample exists.
Function testing is under-used by brands reviewing samples. Open and close the closure twenty times. Load the bag with the intended contents and carry it. Adjust the strap at its extremes. Most functional problems are found in a minute of use and missed entirely in a visual inspection.
Record the function test. A short video of the closure being cycled, or of the bag being loaded and carried, gives your own team and the partner an unambiguous reference, and it prevents the familiar disagreement about whether a problem was demonstrated or merely described.
Finishing: Edges, Lining and Branding
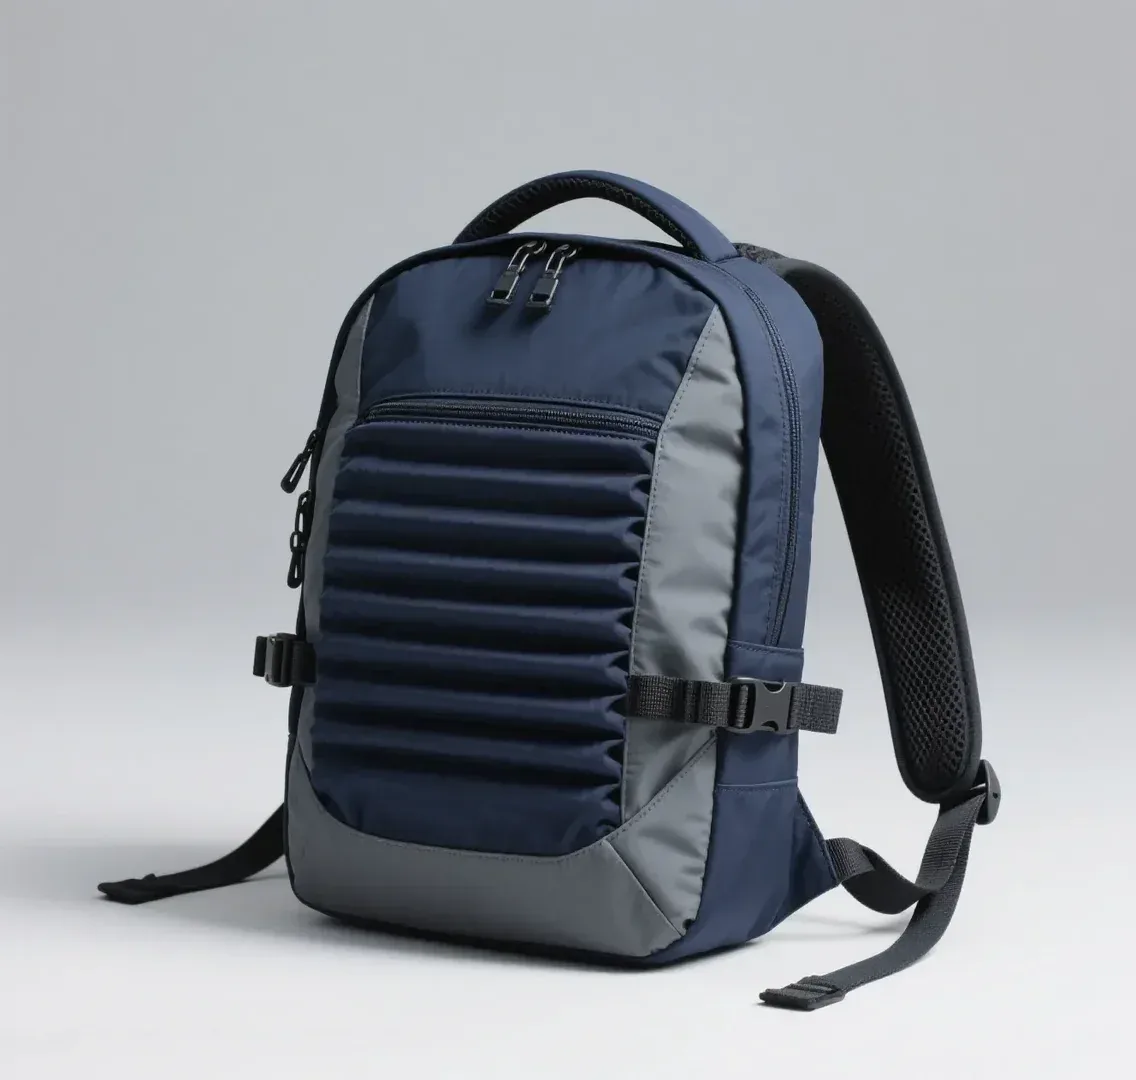
Finishing is what the customer reads as quality, and it is determined by specification as much as by skill. Edge paint, stitch consistency, lining fit and branding placement are all visible at close range, and all of them are specified rather than assumed.
| Finishing element | Specification point | Typical sample-round correction |
|---|---|---|
| Edge paint | Colour reference, number of coats, sanding between coats, matte or gloss | Too glossy, too thick, or chipping at the corners |
| Topstitching | Stitch density, thread ticket, distance from the edge | Pitch inconsistent, or distance from edge varies |
| Lining fit | Pocket dimensions, anchoring, no puckering at the seams | Puckering at corners, pockets misaligned |
| Branding | Position coordinates, emboss depth, foil reference | Misplaced by several millimetres, or illegible at scale |
| Hardware finish | Plating colour consistency across fittings | Plating shade varies between components |
| Final pressing | Shape set, corners squared, bag stands as intended | Bag leans or corners are soft |
Branding placement is worth measuring rather than eyeballing. A logo positioned three millimetres off centre is invisible in a photograph and obvious to a customer holding the bag, and it is among the most common corrections requested in a second round.
Edge finish deserves particular scrutiny in the sample, because it is the operation most likely to be inconsistent at volume. If the sample's edges are perfect and the specification says nothing about coats or sanding, the bulk run will vary. Specify the process, not just the appearance.
Review Rounds and How to Run Them
Most programmes need two rounds. The first confirms that the specification has been understood; the second confirms that the corrections have been applied. A third round usually indicates that feedback was fragmented rather than that the construction is difficult.
- Review the sample against the brief clause by clause, not against your memory of the drawing.
- Use the bag for a day with the intended contents before marking anything up.
- Mark corrections on images of the sample, with measurements, rather than describing them in prose.
- Rank corrections: structural, functional, then cosmetic, and say which are non-negotiable.
- Return everything in one document with a revision number and a date.
- Confirm which revision the partner is working from before the next round begins.
- Approve only when the sample matches the specification, not when the calendar demands it.
Returning every correction in a single document is what separates two rounds from three. Five emails over five days, each adding a point, produce a second sample that reflects none of them fully; one marked-up file produces a second sample that can usually be approved.
Be specific about what is wrong and why. A note that a handle feels wrong invites interpretation; a note that the handle drop measures 15 millimetres short of specification, with a photograph, does not.
Sealing the Reference Sample
The sealed sample is the approved unit, signed and dated by both sides, that becomes the benchmark for bulk. It is the single most important artefact in a programme, because every later dispute is resolved by reference to it.
Two units, held separately, is the practice worth insisting on. A single sample held by the brand is useless to the inspector, and one held only on the floor is unavailable to the buyer. Both sides holding an identical sealed unit is what makes an inspection objective.
Photograph the sealed sample comprehensively before it is stored: every angle, the interior, the hardware, the edges and the branding. A photographic record survives when a physical sample is lost, damaged or gradually modified by handling.
Store the sealed units away from light and handling. Leather shade moves under prolonged exposure, and a reference that has faded is worse than no reference, because it will be used to reject goods that were made correctly. Review the sealed sample at each reorder and replace it when material batches move.
From Sample to Bulk: What Transfers
Not everything about a sample transfers to bulk, and knowing what does not is how brands avoid disappointment. A sample is made by one skilled operator, slowly, with individual attention. Bulk is made by a line, at pace, by many hands.
| Element | Transfers reliably | Needs active management |
|---|---|---|
| Pattern and dimensions | Yes, if graded and cut to the sealed pattern | Tolerance drift across sizes |
| Material and shade | Yes, if booked against an approved swatch | Batch-to-batch variation between hides |
| Hardware | Yes, if booked from the same supplier and plating batch | Plating shade variation between batches |
| Construction sequence | Yes, if documented in the specification | Informal methods used by one operator |
| Edge finish | Only if the process is specified | Coats and sanding performed inconsistently at pace |
| Hand-finished detail | Partially | Operations relying on individual craft rather than specification |
The last two rows are where bulk disappoints. Anything that depends on an individual operator's judgement rather than on a written process will vary at volume, which is why the specification should describe processes rather than outcomes.
Inline checkpoints bridge the gap. Cutting, skiving, assembly and finishing should each have a named owner and a defined check, with the sealed sample present on the floor. Those checkpoints are what keep the two hundredth unit aligned with the first.
Bulk then runs 35 to 50 days after approval, concluding with inspection to AQL 2.5 under ISO 2859-1, single sampling, general inspection level II, measured against the sealed sample and the agreed defect classification.
Book a sampling slot
Send the technical package and the programme team will confirm buildability, book a sampling slot and return the first sample with a review checklist. Email service@junyuanbags.com or reach us on WhatsApp at +86 177 5002 0688.
Frequently Asked Questions
How long does bag sampling take?
Sampling typically takes 6 to 10 working days from an approved brief, or 12 to 15 working days for complex constructions such as framed bags or multi-panel travel pieces. Bespoke hardware, new plating or a developed shade sit outside that window and should be planned separately.
What happens during the sampling process?
The pattern is drafted from your drawings, cut first in a cheaper material to check assembly, then cut in the specified leather. Components are skived and prepared, the bag is assembled, hardware is fitted and function-tested, and finally the edges, lining and branding are finished and reviewed.
How many sample rounds should I expect?
Two is normal: one to confirm the specification has been understood and one to confirm corrections have been applied. A third round usually indicates fragmented feedback rather than a difficult construction. Consolidating corrections into a single marked-up document is the most effective way to reduce rounds.
What is a trial build or toile?
A trial build is a version of the bag cut in a cheaper material before the specified leather is committed. It checks whether the panels assemble into the intended silhouette and catches proportion problems at a fraction of the cost of discarding a hide-specified sample.
Why does my sample differ from my drawing?
Because a drawing shows shape, not behaviour. Leather has thickness, stretch and grain direction, and the pattern must compensate for all three. Differences in how the material falls, how the handle sits and how the closure behaves are normal findings, and they are what the sample exists to reveal.
What is skiving and when is it needed?
Skiving reduces leather thickness wherever the material must fold or turn, allowing a wallet to close flat and an edge to turn cleanly. It should be specified by residual thickness rather than left to the operator, because inconsistency in skiving is a common cause of bulky seams at volume.
How should I review a first sample?
Use it before judging it. Load it with the intended contents, carry it for a day, cycle the closure twenty times and adjust the strap to its extremes. Then review it clause by clause against the brief, marking corrections on images with measurements rather than describing them in prose.
What is a sealed reference sample?
The approved physical unit, signed and dated by both sides, which becomes the benchmark for bulk production. It fixes shade, stitch density, hardware placement, proportion and finish. Hold at least two: one with the brand and one on the production floor, so an inspection is a measurement rather than an argument.
Why does bulk sometimes differ from the approved sample?
Because a sample is made by one skilled operator with individual attention, while bulk is made by a line at pace. Anything depending on individual judgement rather than a written process will vary. Specify processes such as edge coats and sanding, and require inline checkpoints with the sealed sample present.
Can I change the specification after sampling?
Yes, but the cost rises sharply once materials are booked. Before booking, changes are cheap; after it, they carry material and line time, and after tooling is cut they carry tooling as well. Issue a new revision number and a new sealed sample whenever a change is approved.
Do I pay for samples?
Usually, because they consume materials and skilled time. The fee is generally modest and is often credited against the bulk order. What matters more is the number of rounds, because each round extends the calendar by roughly a week, which is the larger cost to most programmes.
Should the sample be made in the final material?
Yes, for the approval sample, because material behaviour is precisely what needs testing. A trial build in a cheaper material is appropriate for the first assembly check, but the unit you approve and seal must be in the specified leather, lining and hardware.
How is hardware checked during sampling?
By fitting and function rather than by appearance. The closure must cycle smoothly with the lining in place, feet must seat against the reinforced base, and plating must match across components. Where a new tooling is commissioned, allow additional weeks beyond the standard sampling window.
What should be photographed before sealing a sample?
Every external angle, the interior, each hardware fitting, the edges at close range and the branding with a scale reference. A comprehensive photographic record survives when a physical sample is lost, damaged or gradually altered by handling over several seasons.
How does sampling affect the bulk lead time?
Bulk runs 35 to 50 days after sample approval, so every additional sample round pushes the delivery date by roughly a week. Reducing rounds from three to two is the most reliable way to protect a launch date, and it costs nothing beyond preparation of the brief.
Can sampling be done remotely?
Yes, and it is increasingly standard. High-resolution photography, video walk-throughs and couriered samples allow a full review without travel. What matters is that corrections are consolidated, measured and returned in one document, with the revision number confirmed before the next round.
What is grain direction and why does it matter?
Leather stretches more across the grain than along it, so the direction in which a panel is cut determines how it behaves under load. A panel cut in the wrong direction will sag in a way that reinforcement cannot fully correct, which is why pattern placement is a craft decision.
How do I know when a sample is ready to approve?
When it matches the written specification, not when it merely looks right. Check the measurements against the tolerances, the shade against the approved swatch, the stitch density against the note, and the function under load. Approve on evidence, because the calendar pressure will not reduce the consequences later.
What is a pre-production sample and do I need one?
A pre-production sample is a unit made on the bulk line, with bulk materials, immediately before the run begins. It is worth requesting for complex or high-value styles, because it is the only way to confirm that the line, not just the sample room, can produce the specification at pace and with the booked materials.
How should sample corrections be communicated?
Consolidate them into one marked-up document with a revision number and date, using annotated images and measurements rather than prose. Confirm the revision the partner is working from before the next round. Scattered daily messages produce partial corrections, which is the usual cause of a third sample round.