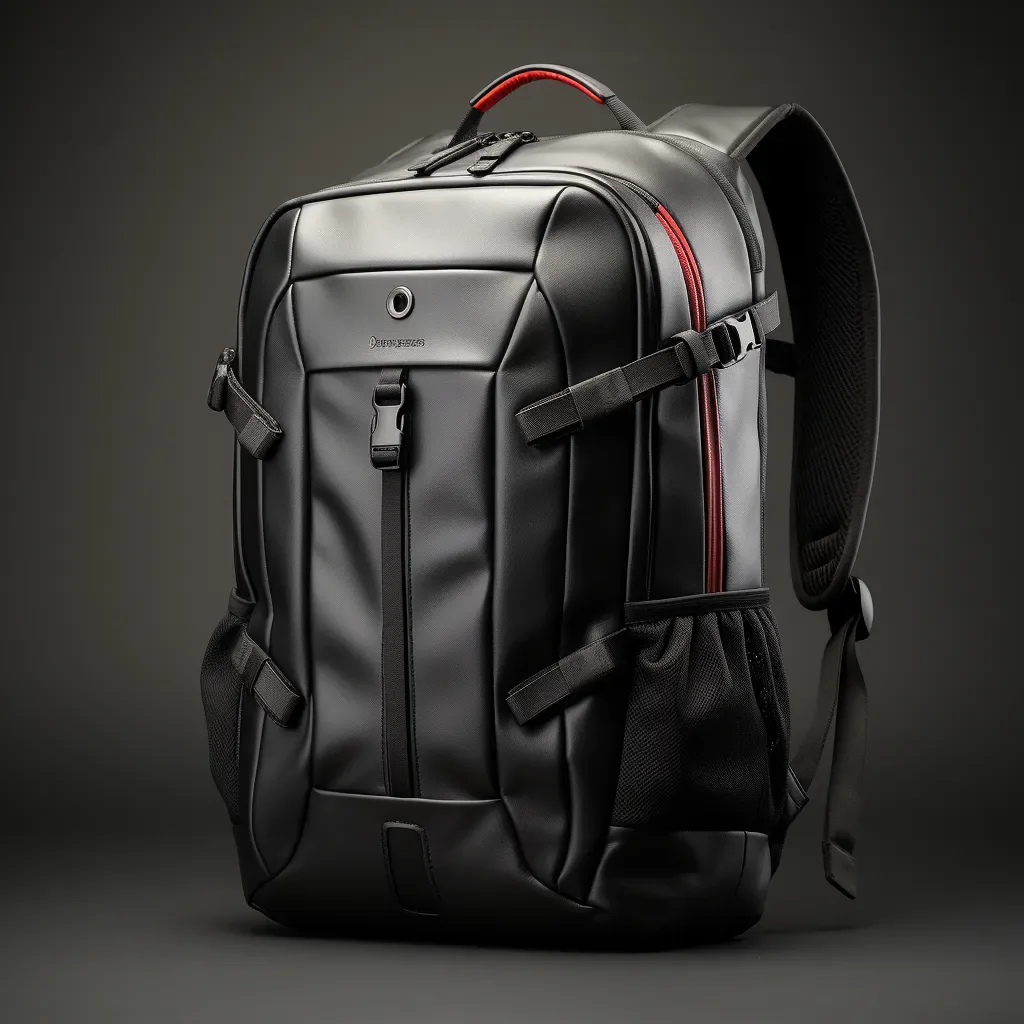
Bag assembly is the stage that brings cut panels, gussets, base, lining and hardware together into a single finished object. It proceeds from the inside out: sub-assemblies such as straps and reinforced panels are built first, then joined into the body, then lined, then finished with hardware. The sequence is fixed because leather does not forgive an unpicked seam — a stitch hole is permanent, so an operation performed out of order cannot be undone cleanly.
This article examines the assembly stage in detail: how panels, gussets and bases are joined, how lining is attached, how hardware is set and where reinforcement is placed to carry load. It is written for product developers and sourcing managers who want to understand how a bag is actually put together, and why assembly sequence is a design decision rather than a workshop one.
Assembly is where a bag's structure is realised. A pattern and a specification describe a bag that could exist; assembly decides whether the object that emerges holds its shape, opens cleanly and carries a load without complaint. Many of the qualities buyers attribute to materials — how a bag sits, how it folds, how it ages — are in fact decided by how it was assembled.
Programme parameters at a glance
| Parameter | Commitment |
|---|---|
| Minimum order quantity | 500 pieces per style / colourway |
| Sampling lead time | 6–10 working days (12–15 days for complex constructions) |
| Bulk production lead time | 35–50 days after sample approval |
| Inspection standard | AQL 2.5 (ISO 2859-1), single sampling, general level II |
| Incoterms | FOB Xiamen — EXW, CIF and DDP available on request |
| Payment terms | T/T 30% deposit / 70% before shipment; L/C at sight for container loads |
| Verified production floor space | 4,950 m² (SGS-verified) |
| Team | 137 staff across 7 production lines |
| Equipment | 149 machines including computerised saddle-stitch and edge-painting units |
| Monthly capacity | 200,000 pieces |
| Entity | Founded 2014; principal has worked in bag development since 2004 |
The Assembly Sequence: Inside Out
Assembly follows a single governing principle: work from the inside out. Structural seams are completed while they are still accessible, lining is fitted once the interior structure is sound, and the bag is closed last. Following this order means that every subsequent step builds on completed work rather than compensating for unfinished work.
| Assembly step | What happens | Why the order matters |
|---|---|---|
| Sub-assembly | Straps, handles and reinforced panels built as units | They must be complete before joining to the body |
| Panel joining | Front, back, base and gussets joined to form the shell | Sets the bag's dimensions and structure |
| Reinforcement | Interlining and backing placed behind panels | Must be captured inside the shell before it is closed |
| Lining attachment | Interior lining and pockets fitted | Requires open access before the bag is closed |
| Closing | Final seams closed and the bag turned where designed | Seals the interior once all internal work is done |
| Hardware setting | Zips, locks, rings, plates and feet secured | Set on a stable, assembled shell |
| Final assembly check | Dimensions and function checked against the reference | Confirms the bag before finishing and inspection |
The reinforcement and lining steps are the ones that make the inside-out rule essential. Reinforcement placed behind a panel must be captured before the shell is closed, and lining must be fitted while the interior is still accessible. A bag assembled in the wrong order ends up with reinforcement that cannot be inserted, or lining that is stitched over finished work, and both compromises are visible in the finished piece.
Joining Panels: Body, Gussets and Base
Panel joining builds the three-dimensional form of the bag from flat pieces. The body panels form the faces, the base closes the bottom and the gussets connect the faces to give the bag depth. How these are joined — and in what order — determines whether the bag stands square, opens wide and keeps its shape, or whether it slumps and distorts under load.
| Component | Function | Assembly consideration | Effect if poorly joined |
|---|---|---|---|
| Front and back panels | Form the visible faces of the bag | Must be cut from matching hide areas | Visible mismatch in grain or shade |
| Gussets | Give the bag depth and connect the faces | Most demanding join, often curved or angled | Bag that will not sit square or open cleanly |
| Base panel | Closes the bottom and carries the load | Needs reinforcement for weight-bearing styles | Base that sags or rounds out over time |
| Top opening | Defines access and closure | Must align with the zip or closure length | Zip that binds or an opening that distorts |
| Corner joins | Bring gusset, base and panel together | Most complex junction, requiring accurate alignment | Puckering or a hole at the corner |
| Side seams | Close the bag's profile | Seam allowance must leave room for finishing | Edges that cannot be finished cleanly |
Gusset joins are the hardest part of panel assembly because they are rarely simple straight seams. A gusset may run around a curve, meet the base at an angle and change layer count as it goes, all while the machine must keep a consistent stitch line. This is why gusset construction is usually specified in detail, and why the sample stage is where any difficulty in the join is resolved.
Lining Attachment and Interior Fit-Out
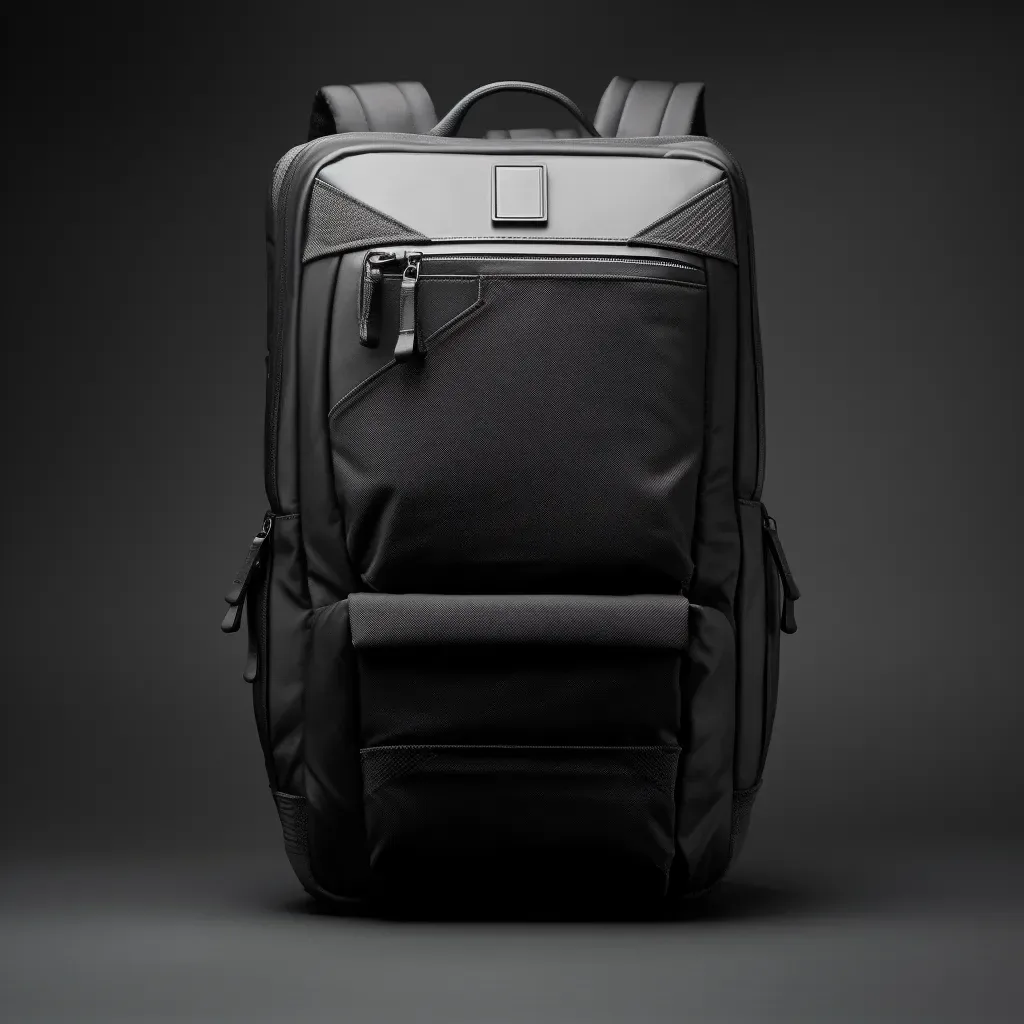
Lining is attached after the shell structure is complete but before the bag is closed, while the interior is still accessible. Its job is partly cosmetic and partly structural: it conceals the inside of the shell, forms interior pockets and compartments, and provides the surface a customer touches every time they open the bag. Because it is the most handled interior surface, its attachment has to be as sound as the exterior.
- Lining is cut and assembled to the pattern, with pockets and compartments positioned to the register rather than by eye.
- The lining is fitted so that the register of the outer bag and the inner lining agree at the opening.
- Pockets are reinforced at their openings, since a pocket edge takes repeated wear from hands and contents.
- Interior branding, labels and any care or origin labels are placed to specification, not estimated.
- Lining tension is set so that it neither pulls the shell out of shape nor sits so loose that it creases.
- Where the lining is trimmed or bound at the opening, the finish is applied after fitting so that the edge is clean.
Lining register is a quiet source of complaints. If the lining is a fraction short, or fitted a fraction low, the bag will look correct from outside but the opening will reveal an uneven lining edge every time the customer reaches in. Because the defect is invisible until the bag is used, it is best controlled by checking register on the first assembled unit rather than relying on final inspection.
Hardware Setting: Zips, Locks and Fittings
Hardware is set on the assembled shell, once the structure is stable and the dimensions are confirmed. Setting methods vary by component: some parts are pressed, some are screwed or riveted and some are hand-sewn. Whatever the method, every component should already be identified by part number and finish, so that setting is a matter of correct assembly rather than of selection.
| Hardware | Setting method | Key consideration | Failure mode if poorly set |
|---|---|---|---|
| Zip | Stitched into the opening | Length must match the opening exactly | Binding when the bag is full |
| Lock or clasp | Screwed, riveted or pressed | Both halves must align precisely | Clasp that does not seat or that works loose |
| Rings and D-rings | Stitched into a tab or loop | Tab reinforcement at the anchor | Ring pulling free under load |
| Buckles and clips | Fitted to straps | Correct size for the strap width | Slipping or jamming strap adjustment |
| Logo plate | Screwed or pressed | Placement to specification on the panel | Crooked or drifting logo position |
| Feet | Pressed or screwed to the base | Even placement so the bag sits level | Bag rocking or base scuffing |
| Snaps and magnets | Pressed | Aligning the hidden counter-parts | Weak closure or a visible mark on the leather |
Hardware alignment is where a small error becomes conspicuous. A clasp whose two halves are slightly out of register will not seat cleanly, and a logo plate a few millimetres off centre is immediately visible on a plain panel. Because hardware is set late in assembly, it cannot be corrected by remaking an earlier stage, which makes accurate marking at the pattern stage the real control.
Assembling Structured vs Soft Bags
Assembly differs markedly between structured and soft constructions. A structured bag relies on reinforcement, stiffening and precise gussetry to hold a defined silhouette, so its assembly concentrates on capturing reinforcement and keeping panels square. A soft bag relies on the natural drape of the leather, so its assembly concentrates on fold behaviour and on not over-engineering the shell.
| Aspect | Structured bag | Soft bag |
|---|---|---|
| Reinforcement | Extensive; interlining and stiffening behind panels | Minimal; relies on the leather's own body |
| Gusset treatment | Precise, often reinforced, holds a defined shape | Relaxed, designed to collapse and recover |
| Seam allowance | Controlled closely to keep lines crisp | More forgiving, provided folds sit cleanly |
| Assembly difficulty | Higher; more layers and stiffer joins | Lower; fewer layers and softer material |
| Common fault | A bag that will not stand square | A bag that sags more than intended |
| Design implication | Requires firm leather and deliberate structure | Requires a leather with the right drape and temper |
The choice between them is a design decision with assembly consequences, and it is usually settled before sampling. A structured design assembled in a leather too soft will not hold its form no matter how precisely it is built, and a soft design assembled with too much reinforcement will feel rigid and unbecoming. Matching construction to material is the purpose of the sample stage.
Reinforcement and Stress Points
Reinforcement is placed where a bag experiences load or where it must hold a shape. The points that carry the most stress are the strap and handle anchors, the base, the top corners of the opening and any point where hardware is attached. Reinforcement is a design decision made before assembly, because once the shell is closed there is no way to add it.
The value of reinforcement is invisible until it is missing. A bag with correctly placed reinforcement simply works; a bag without it fails at the point of greatest load, usually after some months of use and therefore well outside the run. This is why reinforcement placement belongs in the construction specification and is checked at assembly, rather than being left to judgement at the machine.
Common Assembly Problems
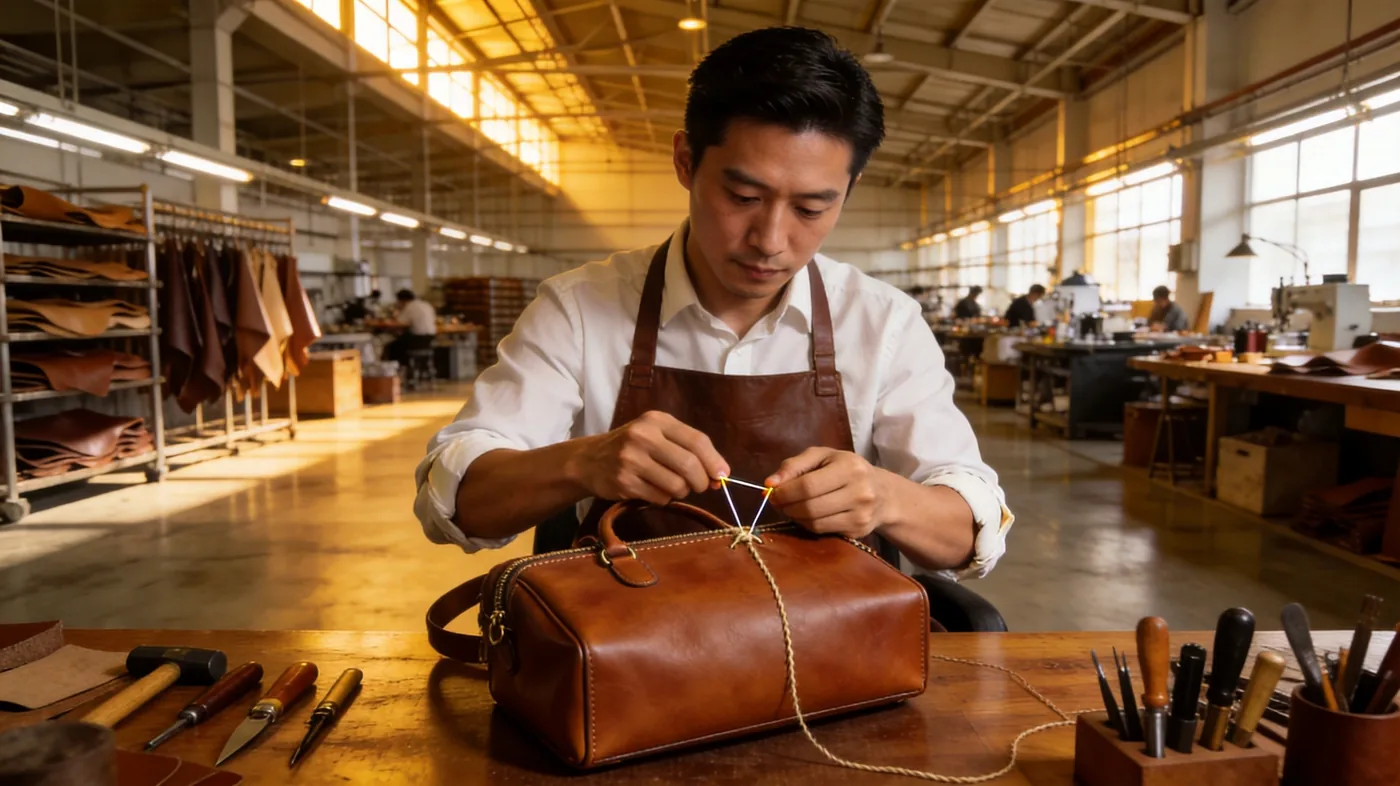
Assembly problems fall into a few recognisable categories, most of them rooted in sequence, alignment or reinforcement rather than in sewing skill. Identifying the cause rather than adjusting the finished bag is what prevents the problem recurring.
| Problem | Symptom | Usual cause | Prevention |
|---|---|---|---|
| Misaligned gusset | Bag does not sit square or open cleanly | Gusset joined out of register to the panels | Mark register points and check the first unit |
| Puckered corner | Gathering where gusset meets base | Excess material at the corner junction | Accurate pattern and controlled seam allowance |
| Lining register fault | Uneven lining edge at the opening | Lining cut or fitted slightly short | Check register on the first assembled unit |
| Hardware misalignment | Clasp or plate not centred or not seating | Marking error at the pattern stage | Pattern marking control and first-piece check |
| Sagging base | Base rounds or drops under load | Insufficient reinforcement for the weight | Reinforce base per construction specification |
| Strap pull-out | Anchor fails under load | Adequate tab but insufficient bartack | Defined reinforcement at all stress points |
| Distorted opening | Top line wavers or bows | Closure area unsupported | Support the top edge so it holds its line |
Notice how many of these trace back to the pattern or the specification rather than to the assembly bench. Misaligned hardware, sagging bases and distorted openings are consequences of decisions made earlier, which is why assembly benefits so much from a complete technical pack. The bench can only execute the specification it is given.
From Assembled Shell to Finished Bag
Once assembly is complete, the bag leaves the bench as a shell with lining and hardware in place. From there it moves to edge finishing, where edges are painted, burnished or bound, and then to inspection. Assembly is therefore not the end of making but the point at which the bag becomes recognisable, and the quality of the finishing stage depends on the quality of the shell it receives.
- An assembled shell with clean, well-aligned seams gives the finishing stage a straight edge to work to.
- Hardware already set allows the finisher to work around the fittings rather than after them.
- Dimensions are checked against the reference before finishing, since a finishing fault cannot correct a structural one.
- The unit is then edge-finished to the agreed standard, whether painted, burnished or bound.
- Finished bags proceed to inspection, where they are checked against AQL 2.5 under ISO 2859-1.
- Approved goods are packed at the agreed specification, stuffed and wrapped to protect shape and hardware.
The stage is also where the bag first becomes something a customer would recognise, which is why assembly faults are so visible. A wandering seam, an off-centre plate or a sagging base is not hidden by a good finish; it is amplified by it. Assembly done well gives finishing and inspection a clean surface to work on, and the run a consistent result to ship.
Get your assembly sequence designed for production
Send your construction drawings, hardware list and target volume to service@junyuanbags.com, or message the programme team on WhatsApp at +86 177 5002 0688. We will review the assembly sequence, reinforcement placement and hardware setting method for your bag.
Frequently Asked Questions
What is bag assembly in manufacturing?
Bag assembly is the stage that brings cut panels, gussets, base, lining and hardware together into a single finished object. It proceeds from the inside out: sub-assemblies first, then the body shell, then reinforcement and lining while the interior is still accessible, then closing and finally hardware. It is where a bag's structure is realised and where its functional qualities are decided.
Why does bag assembly work from the inside out?
Because structural seams must be completed while they are still accessible, reinforcement must be captured inside the shell, and lining must be fitted while the interior is open. Working inside out means each step builds on completed work rather than compensating for unfinished work. Since a stitch hole in leather is permanent, an operation performed out of order cannot be undone cleanly.
What is a gusset and why is it hard to assemble?
A gusset is the panel that gives a bag its depth and connects the front and back faces. It is the most demanding join because it is rarely a simple straight seam: it may run around a curve, meet the base at an angle and change layer count as it goes, all while the machine must hold a consistent stitch line. Poor gusset assembly makes a bag that will not sit square or open cleanly.
How is the lining attached in a leather bag?
Lining is attached after the shell structure is complete but before the bag is closed, while the interior is still accessible. It is cut and assembled to the pattern, fitted so that the register of the outer bag and the lining agree at the opening, and checked for tension so it neither pulls the shell out of shape nor sits loose. Interior pockets are reinforced at their openings because they take repeated wear.
What causes a bag to lose its shape?
Loss of shape usually comes from insufficient reinforcement, a leather too soft for the intended construction, or a base that is not stiffened for the load it carries. A structured design needs interlining and stiffening behind panels, a firm leather and deliberate gussetry. Where any of those is missing, the bag sags or rounds out over time, even if the assembly itself is neat.
When is hardware set on a bag?
Hardware is set on the assembled shell, once the structure is stable and the dimensions are confirmed. Zips are stitched into the opening, locks and clasps are screwed, riveted or pressed, rings and D-rings are stitched into reinforced tabs, and feet are pressed or screwed to the base. Because hardware is set late, accurate marking at the pattern stage is the real control on alignment.
What are the most common bag assembly problems?
Common problems include a misaligned gusset that stops the bag sitting square, puckering where the gusset meets the base, uneven lining register at the opening, hardware that is off-centre or will not seat, a base that sags under load, strap anchors that pull out, and a top opening that distorts. Most trace back to the pattern or specification rather than to the assembly bench itself.
How is a structured bag assembled differently from a soft bag?
A structured bag relies on extensive reinforcement, stiffening and precise gussetry to hold a defined silhouette, so assembly concentrates on capturing reinforcement and keeping panels square. A soft bag relies on the natural drape of the leather, so assembly concentrates on fold behaviour and on not over-engineering the shell. The choice is a design decision settled before sampling.
Where does a bag need reinforcement?
Reinforcement is placed where a bag experiences load or must hold a shape: the strap and handle anchors, the base, the top corners of the opening, any point where hardware is attached, and the joins where the gusset meets the base and body. Because reinforcement must be captured inside the shell before it is closed, its placement is a design decision rather than something added at the bench.
What is lining register and why does it matter?
Lining register is the alignment of the lining with the outer bag, especially at the opening. If the lining is cut or fitted slightly short or low, the bag looks correct from outside but reveals an uneven lining edge every time it is opened. Because the fault is invisible until the bag is used, register is best controlled by checking the first assembled unit rather than relying on final inspection.
Can assembly errors be corrected after the bag is closed?
Largely no. Once a shell is closed and stitched, correcting an internal fault means unpicking a seam, which leaves permanent stitch holes in the leather and weakens the panel. This is why sequence is fixed and why internal work — reinforcement, lining, pockets — is completed before closing. Errors are prevented by specification and first-unit checks rather than corrected afterwards.
How does hardware alignment get controlled?
By marking hardware positions on the pattern rather than positioning them by eye at assembly. A clasp whose halves are out of register will not seat cleanly, and a logo plate a few millimetres off centre is immediately visible on a plain panel. Because hardware is set late, it cannot be corrected by remaking an earlier stage, so pattern marking and a first-piece check are the effective controls.
What is a stress point in a bag?
A stress point is anywhere the load on a bag concentrates, most notably the strap and handle anchors, the base when the bag is carried full, the top corners of the opening and the points where hardware is attached. These areas are reinforced with interlining and bartack stitching. A bag with correctly placed reinforcement simply works; one without it fails at the point of greatest load.
How long does bag assembly take?
Assembly time depends on complexity. A simple soft tote with few panels and minimal hardware assembles quickly, while a structured bag with reinforced panels, a curved gusset, a fitted lining, multiple pockets and several hardware fittings takes considerably longer. Assembly is usually the largest labour block in making, which is why complex constructions take longer both to sample and to produce.
Why do some bags open awkwardly or feel stiff at the top?
Usually because the opening is not supported correctly for the construction. A top edge that lacks support can waver or bow, and a closure that is not matched to the opening length will bind when the bag is full. The fix belongs at design and specification — supporting the top edge and matching the closure to the opening — rather than at the assembled bag.
What happens to a bag after assembly?
After assembly the bag leaves the bench as a shell with lining and hardware in place, and moves to edge finishing, where edges are painted, burnished or bound. It then goes to inspection, where it is checked against the approved reference and AQL 2.5 under ISO 2859-1, and finally to packing. A well-assembled shell gives finishing a straight edge to work to and inspection a consistent result to confirm.