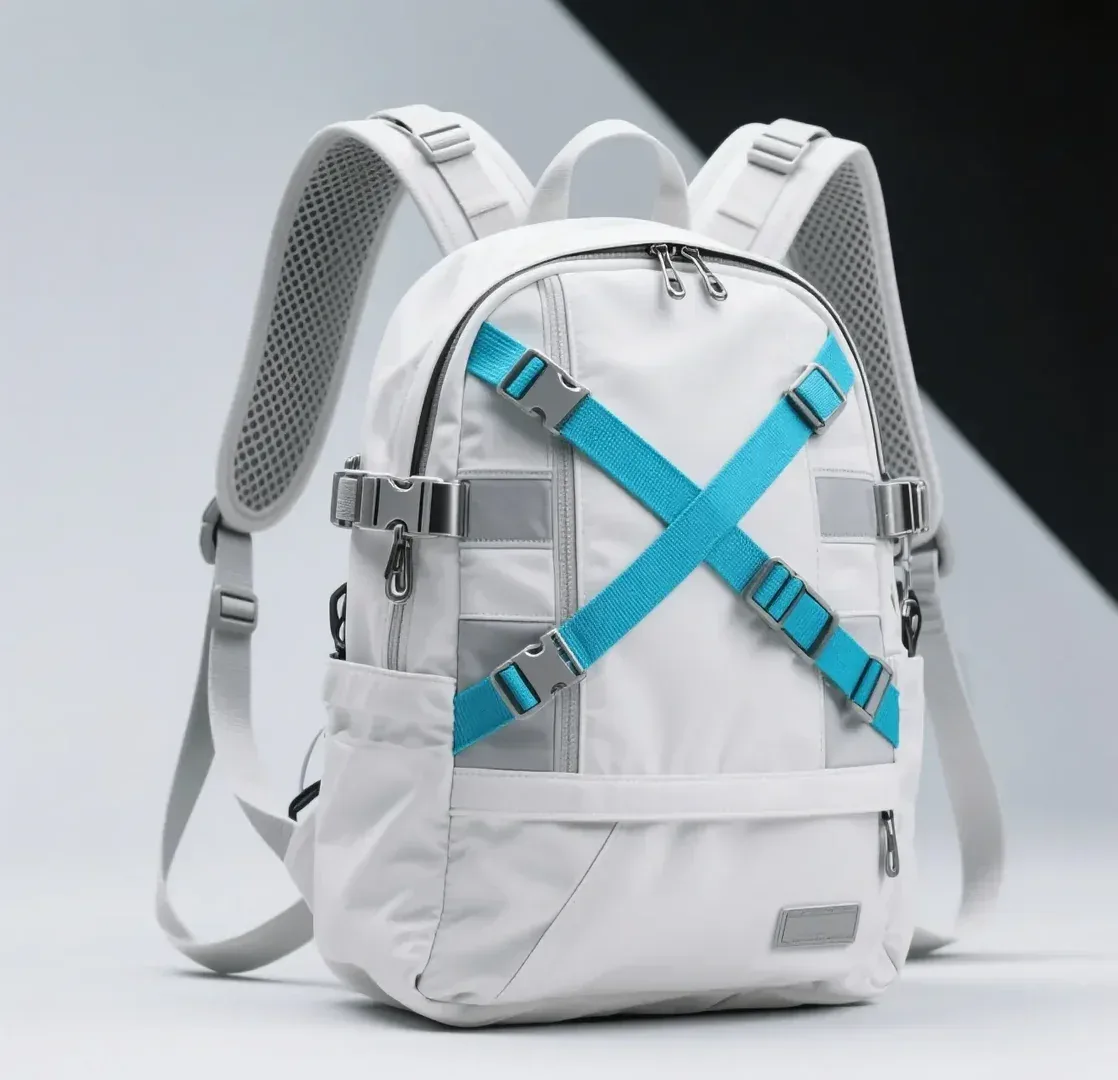
Photographing a bespoke bag well comes down to four controls: soft directional light that shows grain without glare, a lens long enough to avoid distorting the silhouette, careful internal stuffing so the bag holds its intended shape, and a colour-managed workflow so the leather tone on screen matches the hide on the bench. Makers and brands who standardise these four things produce images that can be used for remote sample approval, e-commerce and archive documentation without reshooting. Everything else — background choice, props, retouching — is secondary and should never compensate for a failure in any of the four. Teams that master these controls find that remote approval becomes routine rather than risky, and that a single photography session serves sampling, sales and archive without a second shoot.
What a Bag Photograph Has to Do
A commercial product image and an approval image have different jobs, and confusing them causes most photography problems in this trade. A commercial image sells: it flatters, it suggests scale, it invites. An approval image documents: it shows the true silhouette, the true colour, the true edge finish and any defect that exists. Both are necessary, and both should be produced for every bespoke commission, because the approval set is what protects the maker and the buyer if a dispute arises later about what was signed off.
- Show the silhouette without lens distortion, so proportion can be judged accurately.
- Render colour faithfully, so a dye lot can be approved without shipping a physical sample.
- Reveal surface information: grain, edge finish, stitch density and plating tone.
- Communicate scale, ideally with a stated dimension rather than only a prop.
- Disclose defects honestly in approval sets, which is cheaper than disclosing them at inspection.
- Remain repeatable, so a reorder shot twelve months later can be compared directly.
The commercial set and the approval set should be produced in the same session, from the same setup, and stored together. This costs a few extra minutes and removes a recurring problem: a beautiful marketing image that quietly becomes the reference for approval, with the result that a buyer signs off on a flattering photograph rather than on an accurate record. Keeping the two sets separate, and labelling them clearly, protects both sides of the transaction.
There is also an archive argument. A bespoke programme is likely to be reordered, and a reorder twelve months later is only comparable if the original was documented to a standard. Photography produced casually — different lens, different light, different white balance each time — cannot be compared, which means the reorder is effectively approved against memory. Teams that treat images as a permanent record find repeat programmes move considerably faster than first programmes.
Lighting Setups for Leather
Programme parameters at a glance
| Parameter | Commitment |
|---|---|
| Minimum order quantity | 500 pieces per style / colourway |
| Sampling lead time | 6–10 working days (12–15 days for complex constructions) |
| Bulk production lead time | 35–50 days after sample approval |
| Inspection standard | AQL 2.5 (ISO 2859-1), single sampling, general level II |
| Incoterms | FOB Xiamen — EXW, CIF and DDP available on request |
| Payment terms | T/T 30% deposit / 70% before shipment; L/C at sight for container loads |
| Verified production floor space | 4,950 m² (SGS-verified) |
| Team | 137 staff across 7 production lines |
| Equipment | 149 machines including computerised saddle-stitch and edge-painting units |
| Monthly capacity | 200,000 pieces |
| Entity | Founded 2014; principal has worked in bag development since 2004 |
Leather is a difficult subject because it is often simultaneously glossy and textured. Direct light produces specular highlights that destroy grain information; fully diffused light produces a flat image with no sense of depth. The working solution is a large diffused key placed to the side and slightly high, with a reflector or low-power fill on the shadow side to hold detail. For patent and high-gloss finishes, add a soft strip light or a white card at the edge of the frame to create a controlled highlight that reads as shine rather than as a blown-out patch.
| Finish | Lighting approach | Watch for |
|---|---|---|
| Matte full-grain | Large softbox at forty-five degrees, gentle fill opposite | Fill too strong flattens the grain |
| Saffiano or pebbled | Grazing side light to reveal texture | Harsh grazing exaggerates every mark |
| Patent or high gloss | Broad source plus a narrow strip for a controlled highlight | Reflections of the room and the photographer |
| Suede and nubuck | Broad soft light, minimal fill | Brushing direction changing the apparent tone |
| Metallic hardware | Small dedicated source or reflected card | Clipped highlights destroying plating tone |
| Dark leather on dark ground | Rim or hair light to separate the edge | Silhouette disappearing into the background |
Camera, Lens and Settings
Equipment matters less than discipline, but two choices genuinely affect the result. Focal length first: a wide lens close to a bag distorts proportion, making a tote look deeper and a handle look longer than it is. Use the longest lens your space allows — eighty-five millimetres and above on full frame for a handbag, longer for small accessories. Aperture second: leather needs enough depth of field to keep the whole bag sharp, which usually means f/8 to f/11 with the camera on a stand rather than handheld at f/2.8.
Styling: Shape, Stuffing and Support
A bag photographed empty rarely looks like the bag the designer drew. Unstructured and semi-structured pieces in particular collapse, and the collapse reads as poor quality even when the construction is excellent. Stuff with acid-free tissue, bubble wrap wrapped in soft cloth, or purpose-made foam forms — enough to hold the intended shape, never enough to stretch the leather or distort the panel seams. Support from behind with a stand where the bag will not stand unaided, and remove the support in post rather than leaving a visible prop.
- Stuff to the intended silhouette, not beyond it; over-stuffing distorts panel seams.
- Use acid-free tissue against the lining to avoid any transfer risk.
- Shape handles and straps deliberately so they fall as they would in use.
- Clean hardware immediately before shooting; fingerprints are visible at macro range.
- Remove dust and lint with a lint roller, then check again under the shooting light.
- Photograph the empty interior separately, with the lining pulled flat and lit.
Styling decisions also carry a compliance dimension in some markets. A bag shown with a prop that is not included should say so, and a bag shown with a strap configuration that is optional should be captioned accordingly. Misleading presentation is not only a returns problem for the seller; in several jurisdictions it is a consumer protection matter. The safe convention is to photograph the product as supplied and caption every additional item explicitly.
The Standard Shot List
A repeatable shot list is what turns photography into documentation. Standardise it once, write it into the sampling procedure, and every subsequent commission produces a comparable set. The list below covers what a remote approver needs in order to sign off without handling the piece. Note that video of the closure operating is worth more than a dozen stills, because it demonstrates function in a way a photograph cannot.
| Shot | Purpose | Standard setup |
|---|---|---|
| Front elevation | Primary silhouette and panel alignment | Camera at bag centre height, lens axis level |
| Rear elevation | Confirms the reverse construction | Same height and distance as the front |
| Both side elevations | Reveals gusset depth and base construction | Same framing, rotation only |
| Three-quarter view | Commercial image and proportion check | Camera slightly above centre |
| Base | Shows feet, stiffener and edge finish | Bag inverted on a clean support |
| Open interior | Confirms lining, pockets and capacity | Lining pulled flat, lit from above |
| Hardware macro | Plating tone, engraving, rivet setting | Macro lens, controlled single highlight |
| Closure in operation | Demonstrates function | Short video, hands out of frame |
| Scale reference | Communicates size objectively | Ruler in frame for one reference shot |
| Detail of defects | Honest disclosure in approval sets | Macro with oblique light |
Detail and Macro Work
Macro images are where a maker proves the quality of the work, and where poor technique is most obvious. Stitch density, edge paint consistency and the setting of a rivet all read clearly at close range, which is exactly why the approval set should include them. Light macro work with a single controlled source and a reflector, focus manually using magnification, and shoot a bracket of exposures because a single frame rarely holds both the specular highlight on metal and the shadow detail in leather.
- Clean the area with a dry cloth; dust is far more visible at macro range.
- Set the camera to manual focus and use live-view magnification on the critical point.
- Place one small source at a shallow angle to reveal surface relief.
- Add a white or silver card opposite to hold shadow detail without flattening.
- Shoot a bracket and select the frame with the best highlight retention.
- Include one frame with a scale reference so stitch density can be assessed.
Colour Accuracy and Workflow
Colour accuracy is the single most commercially important property of an approval image, and the one most often compromised. Auto white balance shifting between frames in the same set is enough to make two identical bags look like different dye lots. Fix the white balance manually, shoot a grey card or colour checker at the head of every session, apply that reference in processing, and use the same processing preset for every image in the set. Then view the result on a calibrated screen, because a laptop set to maximum brightness will misrepresent every dark leather you shoot.
Workflow discipline matters as much as technique. Name files by style code and revision, archive the raw set alongside the processed set, and keep the physical approved swatch with the archive record. When a reorder is produced a year later, that archive is what allows the new run to be compared against the original approval rather than against a memory. Teams that treat photography as disposable consistently lose this comparison, and rediscover the cost at inspection.
- Lock white balance manually and never allow it to drift within a set.
- Shoot a grey card at the start of every session and reference it in processing.
- Apply one processing preset across the entire set without per-image adjustments.
- View and approve on a calibrated display at a consistent brightness.
- Archive raw and processed files under the style code and revision number.
- Store the physical approved swatch with the archive for future comparison.
Common Mistakes and Their Corrections
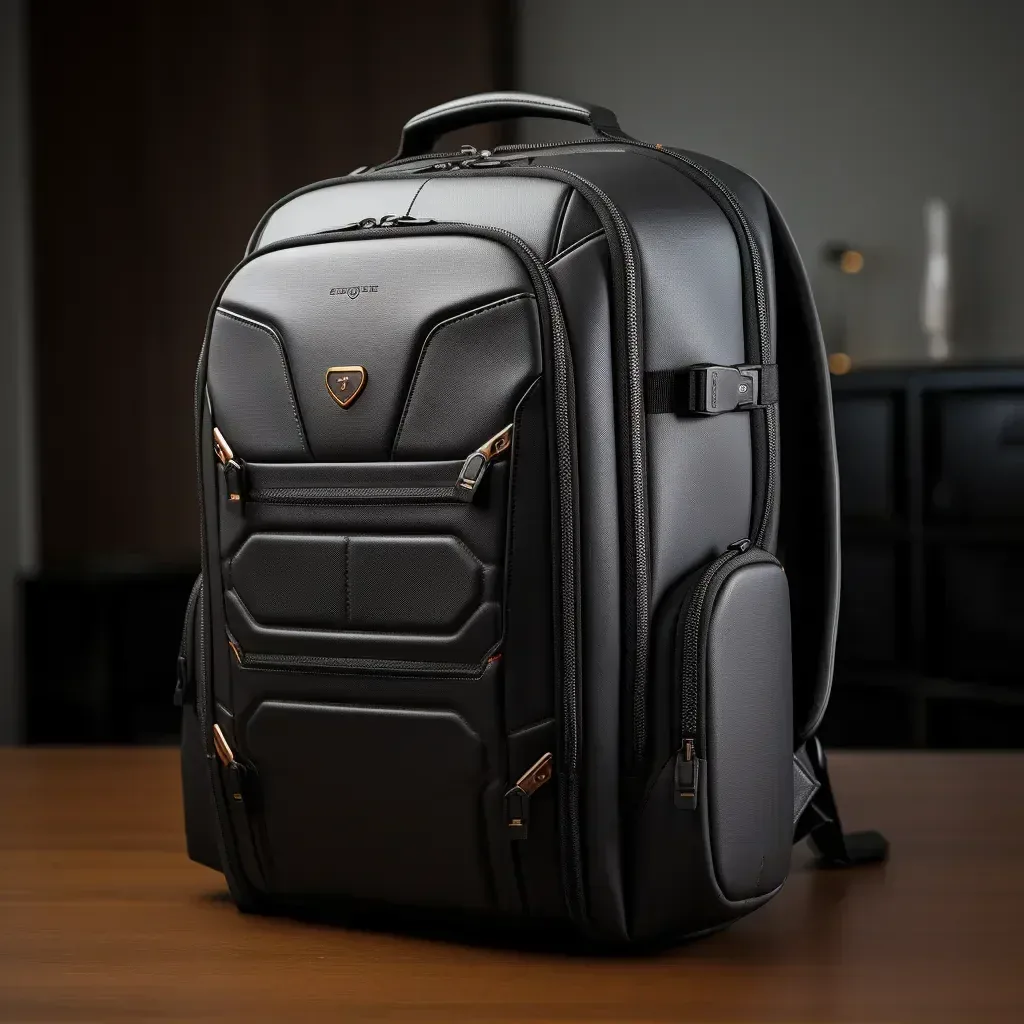
The failures listed below account for the majority of reshoot requests in bespoke programmes. All of them are procedural rather than creative, which is good news: each has a correction that can be written into a standard operating procedure and applied by anyone on the team. Makers who adopt a written photography procedure find that remote approval becomes faster, disputes become rarer, and the same images serve e-commerce without a second session.
| Mistake | Effect on the image | Correction |
|---|---|---|
| Wide lens used close | Handle and gusset proportion distorted | Move back, use 85 mm or longer |
| Auto white balance | Colour shifts between frames in one set | Lock manual white balance, use a grey card |
| Bag photographed empty | Silhouette collapses, reads as poor quality | Stuff to the intended shape |
| Single hard light source | Glare on gloss, black shadows on matte | Diffuse the key, add restrained fill |
| No scale reference | Size cannot be judged objectively | Include one framed ruler shot |
| Heavy retouching | Defects hidden, approval becomes unreliable | Retouch dust only, never construction |
A photograph that hides a defect costs more than the defect. Show the work; it is the only way a remote programme stays honest.
See the standard approval set
Ask the programme team for a sample approval set and you will receive the full shot list, macro details and a physical swatch for colour sign-off. Email service@junyuanbags.com or message us on WhatsApp at +86 177 5002 0688.
Frequently Asked Questions
What camera equipment do I need to photograph bags professionally?
A camera with manual controls, a lens of eighty-five millimetres or longer for full-bag shots and a macro lens for hardware detail, a sturdy tripod, and one large diffused light source with a reflector. That is sufficient. Studios with more elaborate kit do not automatically produce better bag images; what separates them is consistent white balance, careful stuffing and a fixed shot list.
Why does lens choice matter so much for bag photography?
Wide lenses used close to a subject stretch perspective, making handles look longer and gussets look deeper than they are. Because a bespoke sample is approved against a dimensioned brief, a distorted image leads to approval of a bag that does not match the specification. Use the longest lens your space allows and move the camera back rather than widening.
How should I light glossy or patent leather?
Use a broad diffused source for general illumination and add a narrow strip light or white card at the edge of the frame to create one controlled highlight. Glossy finishes reflect the room, so a small tent or a set of black flags around the camera position prevents unwanted reflections of windows, stands and the photographer appearing in the surface.
What aperture should I use for a full bag shot?
Typically f/8 to f/11, which keeps the entire bag sharp from the front handle to the rear panel. Shooting wide open at f/2.8 produces a shallow plane of focus that flatters in a lifestyle image but hides exactly the information an approver needs. For isolated hardware macros, f/4 to f/5.6 is usually sufficient and keeps shutter speeds reasonable.
Should I stuff the bag before photographing it?
Yes, for any unstructured or semi-structured piece. An empty bag collapses and reads as poorly constructed even when the making is excellent. Use acid-free tissue or soft-wrapped forms, fill to the intended silhouette rather than beyond it, and check that panel seams are not being stretched. Structured and framed bags generally photograph well empty.
How do I keep leather colour accurate in photographs?
Lock the white balance manually rather than using auto, shoot a grey card at the start of every session, reference it during processing and apply one preset across the whole set. View images on a calibrated display at consistent brightness. Even with all of that, colour approval should be done against a physical swatch rather than a screen.
What shots should a sample approval set include?
Front, rear and both side elevations, a three-quarter view, the base, the open interior, macro images of hardware and edge finish, and a short video of the closure operating. Include a scale reference in one frame and photograph any defect honestly with oblique light. That set is sufficient to approve a sample remotely without handling the piece.
Is it acceptable to retouch bag photographs?
Retouch dust, lint and temporary handling marks; do not retouch construction. An approval image that has been cleaned of a stitching irregularity or an edge paint flaw creates a false record, and the issue will reappear at bulk inspection where it is far more expensive to resolve. The discipline is: retouch the scene, never the product.
How do I photograph hardware so the plating tone is clear?
Use a small dedicated light source or a reflector card to create one contained highlight on the metal, and expose for that highlight so it does not clip. Shoot a bracket of exposures if necessary. Include a neutral reference in a separate frame, because plating tone — light gold against palladium against gunmetal — is judged by comparison rather than in isolation.
Can I use a phone camera for bespoke bag photography?
For informal progress shots, yes. For approval and e-commerce, a phone is workable only with controlled light, a fixed support and manual white balance control, and even then its short focal length distorts proportion unless you shoot from further back and crop. Many teams use phones for workshop documentation and a dedicated camera for anything that will be approved or published.
How do I show the size of a bag in a photograph?
Include one frame with a ruler or a measurement card placed beside the bag at the same plane, and state the dimensions in the caption. Props such as a phone or a notebook help a consumer but can mislead an approver, because their own dimensions are unknown to the viewer. For approval purposes, always use a stated scale rather than an implied one.
What background works best for bag photography?
A neutral mid-grey or warm off-white sweep is the safest choice, because it does not cast colour onto the leather and it separates dark and light bags equally well. Pure white is useful for marketplace listings but complicates exposure on dark leather. Avoid saturated backgrounds, which reflect into the leather and distort the perceived colour.
How should I photograph the interior of a bag?
Open the bag fully, pull the lining flat so pockets and divisions are visible, and light from above with a broad source so the interior is not left in shadow. A second frame with the lining gently everted shows attachment quality. Interiors are frequently photographed badly, which is a missed opportunity because lining quality is a strong signal of overall construction.
Should defects be photographed in an approval set?
Yes. Disclose them with oblique macro lighting and describe them in the accompanying note. Concealing a defect in photography converts a small, cheap correction at sample stage into a rejected shipment at bulk stage. Makers who disclose openly consistently build stronger long-term relationships than makers whose photographs always look flawless.
How many images should a full product set contain?
Between twelve and twenty for a standard handbag: the standard shot list of around ten frames, plus three to five macro details and one scale reference. Small accessories need fewer. More images rarely help; consistency and completeness matter more than volume, and a fixed list ensures every commission produces a directly comparable set.
How do I archive photography for future reorders?
Name files by style code, colourway and revision date; store raw and processed sets together; and keep the physical approved swatch with the digital archive. When a reorder is produced a year later, that record allows the new run to be compared against the original approval rather than against memory, which is the single most useful artefact in a repeat programme.