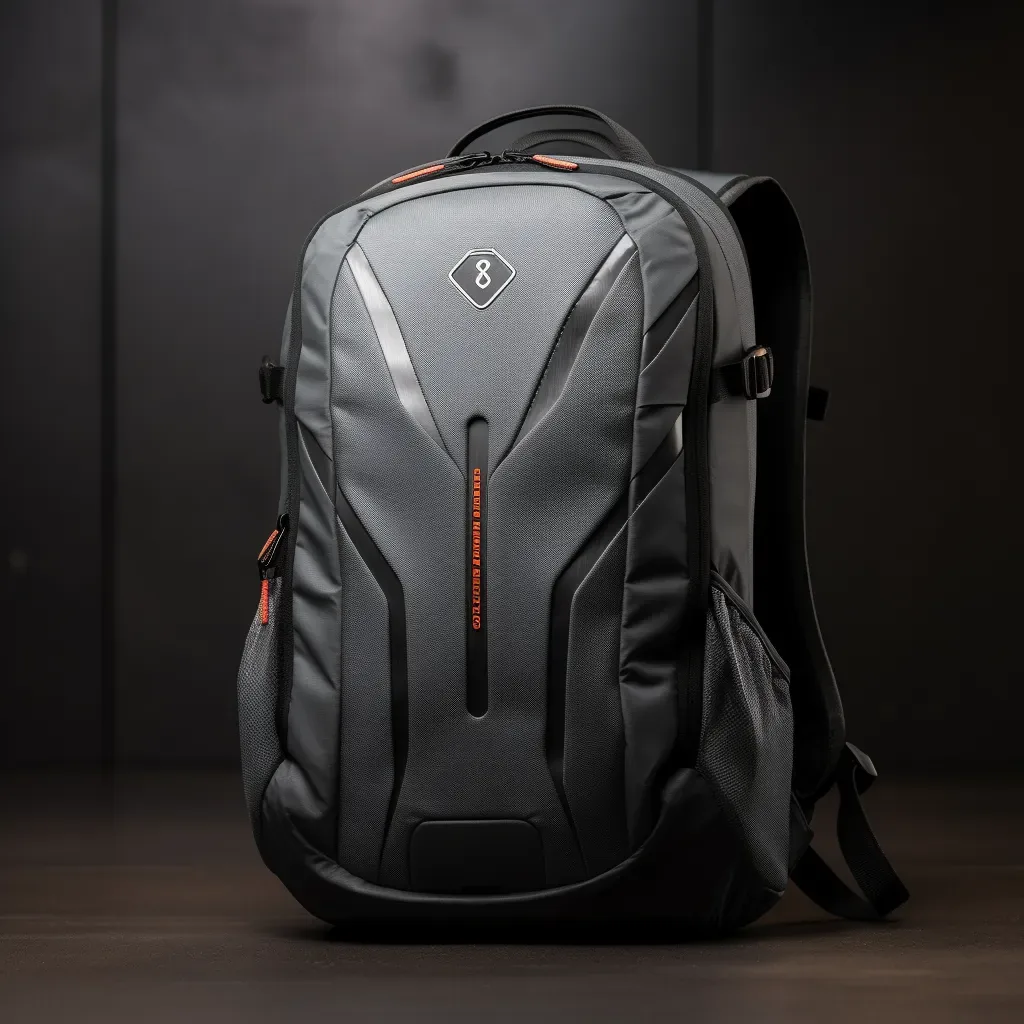
A bespoke bag is made by converting a two-dimensional pattern into a three-dimensional object through a fixed sequence of operations: the brief becomes a technical pack, the pack becomes a pattern, the pattern is marked for yield and cut, panels are thinned where they must fold, components are assembled in a set order so later operations remain physically possible, edges are finished, hardware is set, and the result is inspected against a sealed reference. Each operation constrains the next, which is why the sequence cannot be rearranged for convenience. This walkthrough follows one bag through the floor, naming what happens at every station and where deviations usually begin.
Stage One: The Brief Becomes Buildable
Nothing physical happens until the brief can be read by somebody holding a knife. A drawing conveys proportion; a technical pack conveys dimensions, tolerances, material references and the order of operations. That conversion is the first real act of making, because it forces decisions the sketch quietly avoided: how thick the leather may be at a fold, whether a seam is butt-joined or lapped, whether a lining is set in afterwards or turned with the shell. Questions unresolved here resurface later as rework.
- Dimensioned drawings with stated tolerances, not merely proportional sketches.
- A panel schedule naming every component, its material and its quantity per unit.
- Material call-outs by tannery or mill reference, including thickness range and finish.
- Hardware references with finish and plating specification, or a note that tooling is required.
- A stitch specification: thread type, stitch density and termination method.
- A build sequence agreed in advance, since some constructions become impossible once sealed.
Feasibility testing runs alongside this conversion. Target retail price, target weight, intended duty and the deadline are checked against material availability and construction capability, and the outcome is a written note rather than an optimistic verbal assurance. Where a request cannot be built as drawn — a fold tighter than the leather will tolerate, a strap geometry that puts load on an insufficient panel — this is the cheapest moment to discover it, because the alternative discovery happens after fifteen hundred units are cut.
Programme parameters at a glance
| Parameter | Commitment |
|---|---|
| Minimum order quantity | 500 pieces per style / colourway |
| Sampling lead time | 6–10 working days (12–15 days for complex constructions) |
| Bulk production lead time | 35–50 days after sample approval |
| Inspection standard | AQL 2.5 (ISO 2859-1), single sampling, general level II |
| Incoterms | FOB Xiamen — EXW, CIF and DDP available on request |
| Payment terms | T/T 30% deposit / 70% before shipment; L/C at sight for container loads |
| Verified production floor space | 4,950 m² (SGS-verified) |
| Team | 137 staff across 7 production lines |
| Equipment | 149 machines including computerised saddle-stitch and edge-painting units |
| Monthly capacity | 200,000 pieces |
| Entity | Founded 2014; principal has worked in bag development since 2004 |
Choosing and Preparing Materials
Material arrives before the pattern is finalised, because hides and rolls impose physical limits that the drawing does not know about. Each hide is inspected for grain character, scars, loose areas and thickness variation; those areas are mapped, since a panel destined for a stress point cannot be cut from the belly or the flank regardless of how well it fits the marker. This mapping step is the practical reason two bags from the same order can behave differently if cutting discipline lapses.
| Operation | What happens | Why it matters | Typical failure if skipped |
|---|---|---|---|
| Sorting and grading | Hides grouped by shade, grain character and defect map | Colour consistency across five hundred units | Visible shade variation between units in one carton |
| Thickness checking | Each hide measured against the specified range | Folds, hardware setting and seam bulk all depend on it | Edges that will not close and hardware that will not seat |
| Relaxation | Material rested before cutting where the construction requires it | Dimensional stability during and after assembly | Panels that move measurably after the bag is finished |
| Grain direction planning | Direction of stretch aligned consistently across components | Silhouette retention under load | Handles that lengthen and panels that skew |
| Matching planning | Panels cut sequentially from one hide where visible grain must run through | Visual continuity across the assembled object | Visible mismatch at the centre seam or flap |
Consumption is calculated here rather than guessed. The marker — the layout of pattern pieces across the hide or roll — determines yield, meaning the proportion of purchased material that becomes saleable product. A percentage point of yield on a full-grain hide is a meaningful sum across a run of five hundred, which is why conflicts about price often originate in disagreements about yield rather than about labour or margin.
Pattern Making and Cutting
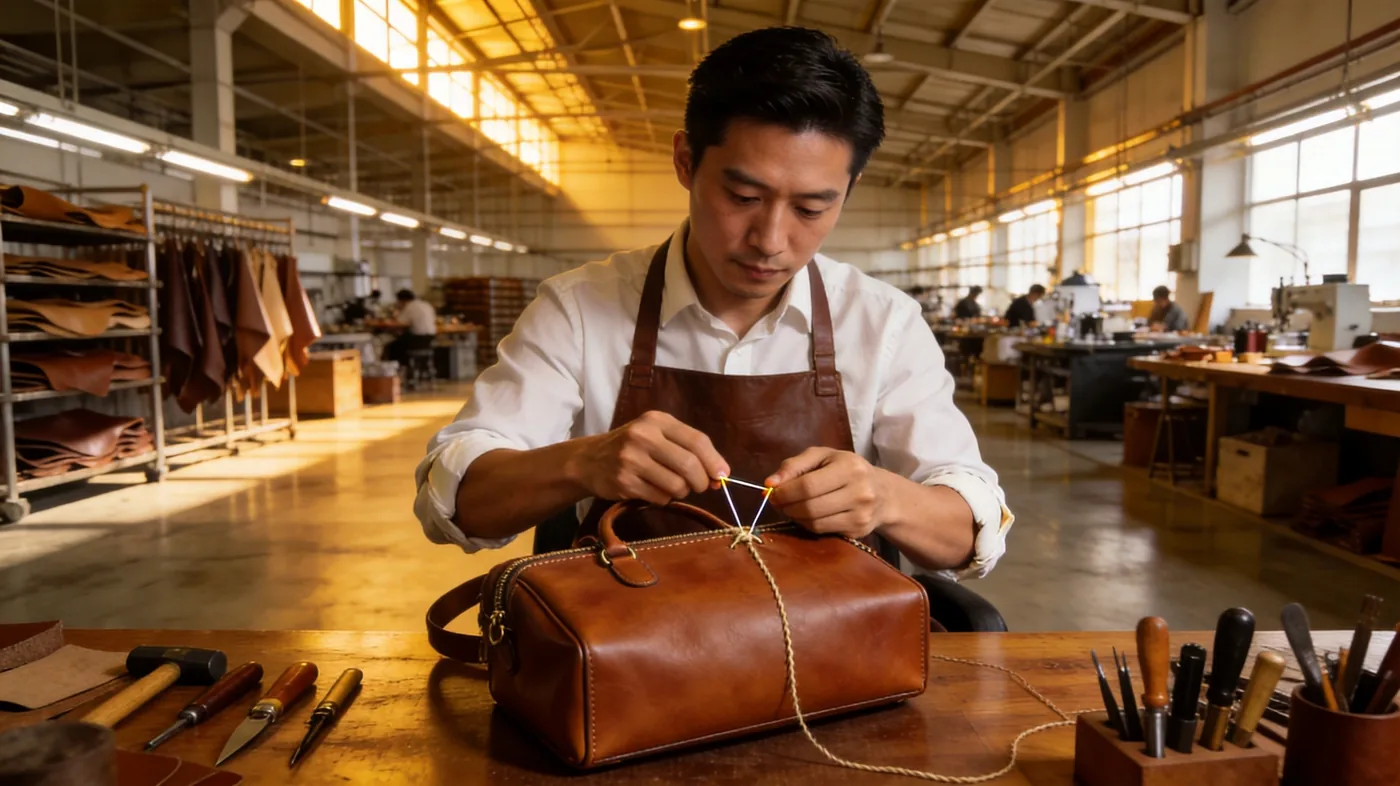
The pattern is the set of shapes that, assembled, produce the intended volume. It is drafted, then graded if the style spans sizes, then proven by building a test unit. Cutting follows once the pattern is settled: dies are made or recalled, panels are struck from the marked hide, and each component is labelled so it travels with its fellows through subsequent operations rather than being substituted from a neighbouring batch.
- Pattern drafting. The silhouette is converted into individual panel shapes with seam allowances, fold allowances and notch marks that later operations depend upon.
- Grading. Where a size range exists, the pattern is scaled systematically rather than redrawn, preserving proportion across the range.
- Marker planning. Panels are laid out for maximum yield while respecting grain direction and defect exclusion zones marked during inspection.
- Die cutting or clicker press. Struck panels leave the hide. Consistency here determines whether every unit assembles identically, since even a millimetre of drift accumulates through subsequent folds.
- Component labelling. Every panel carries its position reference, protecting against the silent mixing that produces mismatched grain and inconsistent fit.
- Edge treatment before assembly. Some edges are thinned or folded before joining, because certain operations become physically impossible once panels are closed together.
Cutting method divides roughly into two approaches with different economics. Clicker presses with steel-rule dies suit volume and produce highly consistent panels, but require die investment that only pays back across a large run. Hand cutting suits complex shapes, mixed materials and very short runs, trading per-unit speed against flexibility. Neither is inherently superior: the correct answer depends on quantity, material value and how much the pattern is expected to change across its life.
Thinning, Folding and Edge Preparation
Leather is rarely used at the thickness it arrives at. Where panels meet, overlap or turn, excess bulk would produce ridges under the surface and hardware that cannot seat; thinning those zones is what separates a flat, clean object from a lumpy one. This stage is largely invisible in the finished bag and is one of the most reliable indicators of how carefully it was made.
- Skiving. Removing material in a taper at edges and overlaps so joins sit flat and invisible beneath the surface.
- Splitting. Reducing overall thickness to a specified figure across a whole panel where the design calls for lighter material than supplied.
- Turning. Folding an edge back on itself and securing it, producing a clean line without relying on coating.
- Creasing. Impressing a line to guide a fold or to mark where stitching will run, so folds break consistently along the intended path.
- Reinforcement. Applying interlining or a hidden stay at stress zones: handle anchors, strap roots, base corners and pocket mouths.
- Grain alignment. Confirming before joining that directional stretch still runs consistently, since skiving can release tension unevenly.
| Preparation method | Resulting appearance | Durability implication | Suits |
|---|---|---|---|
| Skived and lapped join | Flat, no visible bulk at the seam | Depends on stitch density and thread quality | Structural joins inside the carcass |
| Turned and stitched edge | Clean folded line with stitching visible | Excellent; no coating to crack | Flaps, gusset tops, open edges |
| Painted raw edge | Smooth continuous colour along the cut | Coating is the wearing surface and will eventually need refinishing | Most luxury leather goods |
| Bound edge | A separate strip covers the raw edge | Very durable and repairable | Heavy-duty and travel constructions |
| Burnished edge | Friction-polished with heat and wax | Good; accepts periodic re-burnishing | Vegetable-tanned and bridle constructions |
Assembly: Turning Flat into Volume
Assembly order is dictated by physics rather than preference. Operations that require access to the inside of a component must happen before that interior becomes inaccessible; an interior pocket stitched after the lining is set into the shell is not merely difficult, it may be impossible without deconstructing the bag. A correct sequence therefore reads backwards from the last operation, ensuring each joint remains reachable when needed.
| Sequence position | Operation | Consequence of doing it later |
|---|---|---|
| Early | Interior pockets and dividers constructed flat | Hand access lost once the shell closes |
| Early | Hardware requiring inner access — rivets, screws, plates — set with backing | Requires destructive reversal |
| Middle | Main shell seams closed: gussets, base, side panels | Cannot insert components afterwards |
| Middle | Lining assembled and set into the shell | Delicate work in a confined, turning interior |
| Late | Top edge, closure and flap geometry established | Fit determined too late to correct economically |
| Late | Handles, straps and external hardware anchored | Load paths already fixed by prior operations |
| Final | Edges finished, cleaned and inspected under raking light | Cosmetic faults become permanent |
Stitching binds this sequence together, and its specification deserves more attention than it usually receives. Thread type, stitch density per unit length, needle size relative to thread and material, and the treatment of terminations together determine whether a seam creeps under sustained load. Back-tacking at every start and finish, rather than relying on a reverse stitch alone, is a small detail that materially changes long-term behaviour — and it is a specific line in a technical pack, not a matter of luck.
Edges, Surfaces and Final Detail
Edge work is where a bag reveals whether it was made carefully, because there is nowhere to hide. Paint applied in multiple thin coats, sanded between applications, produces a smooth line that flexes without cracking; a single heavy coat looks acceptable on day one and fails within a season. Turned and stitched edges avoid coatings altogether at the cost of additional labour and a slightly heavier visual line, and burnished edges suit firmer tannages where friction and heat can produce genuine polish.
Surface operations follow the same logic of visible consequence. Embossing, debossing and hot-stamp foiling each deform or mark the material permanently, so they are performed before final assembly where possible, since correction afterwards is rarely viable. Logo plates, badges and bespoke hardware are set against a template rather than by eye, as even small placement errors are conspicuous once multiplied across a run. Cleaning and conditioning complete the sequence, removing handling marks and restoring evenness to the finish.
Hardware Setting
Hardware is set either mechanically or by stitching, and the choice is a repair decision in disguise. Riveted components are faster and marginally flatter but require destruction to replace. Screwed components can be swapped years later, which is why accessibility specifications belong in the original brief. Correct setting needs a prepared substrate: reinforcement behind the fitting distributes load and prevents the slow tearing that begins invisibly beneath a plate.
- Marking against a template rather than by eye, repeated identically across every unit.
- Preparing the substrate with interlining or a backing plate at every load-bearing fitting.
- Confirming that prongs, screws or stitching match the total material thickness after skiving.
- Setting with a jig or press where volume justifies it, holding consistent pressure across the run.
- Testing closure hardware through repeated cycles before units leave the bench.
- Protecting finished surfaces during setting, since a slipped tool marks leather irreversibly.
Zips deserve particular attention because they fail more often than any other component and are the most annoying to replace. Tape width, chain gauge, slider quality and stop type are all specified, and each has implications for how the placket is constructed. Ask what happens if a slider fails in year three: if the answer involves unpicking a sealed seam, the specification is wrong regardless of how elegant the bag appears.
Verification: Inspection, Packing and Release
The finished object is compared against the sealed pre-production sample, not against a photograph or a memory. Inspection follows a sampling plan rather than intuition: units are drawn statistically, examined against a classified defect list, and accepted or rejected according to a limit agreed before production began. A single sampling plan under ISO 2859-1 at AQL 2.5, general level II, is the common baseline across leather goods, and its value lies in being arithmetic both sides can compute instead of a standard each interprets.
| Checkpoint | What is verified | Typical defect caught |
|---|---|---|
| Post-cutting | Panel dimensions against pattern, grain direction, defect exclusion | Mis-cut panels and visible hide defects |
| Post-skiving | Taper consistency and thickness at folds | Ridges under the surface and hardware that will not seat |
| Mid-assembly | Seam alignment, interior components, hardware backing | Missing reinforcement and mispositioned pockets |
| Post-assembly | Silhouette under load, closure alignment, symmetry | Twist, roll and off-centre flaps |
| Post-finishing | Edge quality under raking light, surface cleanliness | Ridged edges, excess adhesive, tool marks |
| Final inspection | Statistical sample against the agreed defect classification | Anything above the acceptable limit |
| Packing | Carton specification, unit protection, labelling and count | Transit damage and documentation errors |
Packing protects what the preceding operations achieved. Units are stuffed to hold shape, separated to prevent abrasion, bagged against humidity and cartoned to a specification that survives being stacked. Individual protection costs little compared with the value of a finished run arriving creased or rubbed, and it is the last operation where care shows. Documentation — commercial invoice, packing list, any test certificates against REACH, CPSIA or OEKO-TEX requirements — travels with the shipment, since customs delay is the most expensive form of defect there is.
Understanding this sequence changes how a buyer behaves. Requests that touch pre-cutting stages are cheap and welcomed; requests made after assembly begins are expensive and resisted. On our floor in Quanzhou — 4,950 m², seven lines, 149 machines, 137 staff, capacity of 200,000 pieces per month — those checkpoints are deliberately placed where correction is still possible. The technique library documents the individual operations in greater depth for buyers writing their own specifications.
See how your bag would be built
Share your drawings or references. The programme team will return a build sequence with material options, likely difficulty points and a costed route to bulk.
Frequently Asked Questions
How are bespoke bags made from start to finish?
A brief becomes a technical pack, which becomes a drafted and graded pattern. Materials are inspected and mapped, panels are cut to a yield-driven marker, then thinned where they must fold. Components are assembled in a fixed sequence so each operation stays physically possible, edges are finished, hardware is set against a template, and the result is inspected against a sealed pre-production sample before packing.
Why does the order of assembly matter so much?
Because operations become inaccessible once the object closes. Interior pockets must be constructed while components are still flat, hardware requiring inner access must be backed before the shell shuts, and certain edges must be finished before the surrounding pieces join. Getting the sequence wrong does not slow production slightly; it can make an operation impossible without deconstruction.
What is skiving and why is it needed?
Skiving thins leather in a taper along an edge or overlap so that two panels meet without a ridge. Without it, seams sit bulky beneath the surface, folds resist closing cleanly and hardware cannot seat flat. It is invisible in the finished piece and among the most reliable indicators of how carefully a bag was assembled, particularly at flaps, straps and pocket edges.
How long does each stage take in practice?
Sampling takes 6–10 working days per round, or 12–15 days for complex constructions, followed by 35–50 days for bulk after sample approval. Within that bulk window, cutting and preparation occupy the opening days, assembly the middle, and finishing, inspection and packing the close. Freight and customs add transit time that varies substantially by mode and destination.
Which stages are most likely to introduce defects?
Cutting and edge finishing. Mis-cut panels corrupt everything downstream because subsequent operations assume accurate geometry, while edge work concentrates multiple variables — coat thickness, drying, sanding — into one visible line. Both are scrutinised at line-side checkpoints for precisely that reason, since faults discovered later usually require rebuild rather than correction.
Can I watch my bespoke bag being made?
Yes, and it is a reasonable request. Photographs at defined decision points — first cuts, first assembled shell, hardware set but unfinished, and the finished pre-production sample — convert a remote programme into a series of approvals. Video walk-throughs of the line are routine. Each checkpoint is an approval opportunity, and each is cheapest before the next irreversible operation begins.
What difference does hand finishing make?
It changes consistency and repairability rather than fundamentals. Hand-applied multi-coat edges flex better and accept refinishing later; hand-set hardware can often be replaced without destroying panels. Machine work delivers greater uniformity at volume. The strongest results usually combine machine precision in cutting and seaming with hand work at edges, hardware and final cleaning.
How is quality verified during production?
Through checkpoints between operations and statistical sampling at the end. Each checkpoint catches the defects its operation generates, while final inspection draws units according to a plan based on ISO 2859-1 at AQL 2.5, general level II, against a defect classification agreed before bulk. Comparison is always against the physically retained pre-production sample rather than a photograph.
What happens if the first sample is wrong?
Comments are logged against numbered points on the physical sample, applied to the pattern and specification, and a corrected second sample is produced. This is normal and expected: the prototype exists to reveal problems while they cost little. Expect one or two rounds routinely, and more for framed or multi-component constructions where geometry interacts across several operations.
Which materials are hardest to work with?
Very soft nappa shows every handling mark and stretches unpredictably; heavy bridle leather resists folding and demands thinner sections at every turn; exotics require size matching and florican documentation; and technical coated fabrics can crease permanently if mishandled. Each is workable with experienced operators and tighter process control, but none forgives a loose specification or an impatient line.
Can the construction be changed after bulk has started?
Rarely, and never cheaply. Anything affecting cut components is likely impossible once panels leave the hide, and even reversible changes — a different edge colour, say — require line rescheduling and may already be applied to units in progress. This is precisely why pre-production sealing exists: the sealed sample is the point after which design stops and repetition begins.
How does the lining go into a bag?
Either set in after the shell is assembled, which secures interior access for pockets and hardware, or turned with the shell so lining and outer are joined at the top edge. The first is common in structured bags, the second in lighter unlined-feel constructions. Specify which you want, because it determines whether the lining can ever be replaced later.
What machinery is used to make a leather bag?
Clicker presses or dies for cutting, skiving and splitting machines for thickness control, specialised walking-foot and cylinder-arm sewing machines for assembly, creasing and folding machines for detail work, and presses for hardware setting. Edge finishing is predominantly manual. Our Quanzhou floor runs 149 machines across seven lines for up to 200,000 pieces monthly.
Are zips and hardware installed before or after closing?
Usually dispersed rather than at one point. Some fittings are set early while panels are flat and accessible, especially those needing internal backing or washers. Closure hardware and zips generally follow once the placket geometry is established, and decorative external fittings are set late to avoid marking during assembly. The exact order belongs in the build sequence agreed before cutting.
What causes colour variation between bags in one order?
Almost always hide lot variation rather than dye error. Leather is a natural material and absorbs finish unevenly across a run, so sorting and grouping by shade before cutting is essential. Where exact consistency matters, request cutting from a single reserved lot and keep a retained reference swatch alongside the golden sample for comparison.
How should the finished bag be packed for shipping?
Stuffed to retain shape, individually bagged against humidity, separated to prevent hardware marking adjacent units, and cartoned to a stated specification with correct counts and labelling. Carton strength should match the stacking it will encounter, and documentation must accompany the shipment. Transit damage is the one defect that no amount of good making will prevent afterwards.