In the competitive world of leather bags and accessories, your product photography isn't just a nice-to-have—it's the single most important factor in converting browsers into buyers. With the global leather goods market projected to exceed $500 billion by 2030, brands that invest in professional-quality imagery consistently outperform competitors who rely on amateur photos. At Bespoke Bags, we've spent 20+ years working with brands that understand this truth, and we've seen firsthand how the right photography transforms a product listing from forgettable to irresistible.
Whether you're launching your first leather handbag collection or refreshing an established line, this guide covers every aspect of leather bag photography—from choosing the right camera and lighting equipment to mastering styling techniques, editing workflows, and platform-specific requirements. Let's dive into creating images that sell.
Why Leather Bag Photography Demands Special Attention
Leather is one of the most challenging materials to photograph accurately. Its rich textures, subtle color variations, and reflective surfaces require specific techniques. A poorly lit leather bag looks flat and lifeless, while properly photographed leather showcases the natural grain patterns and craftsmanship that justify premium pricing.
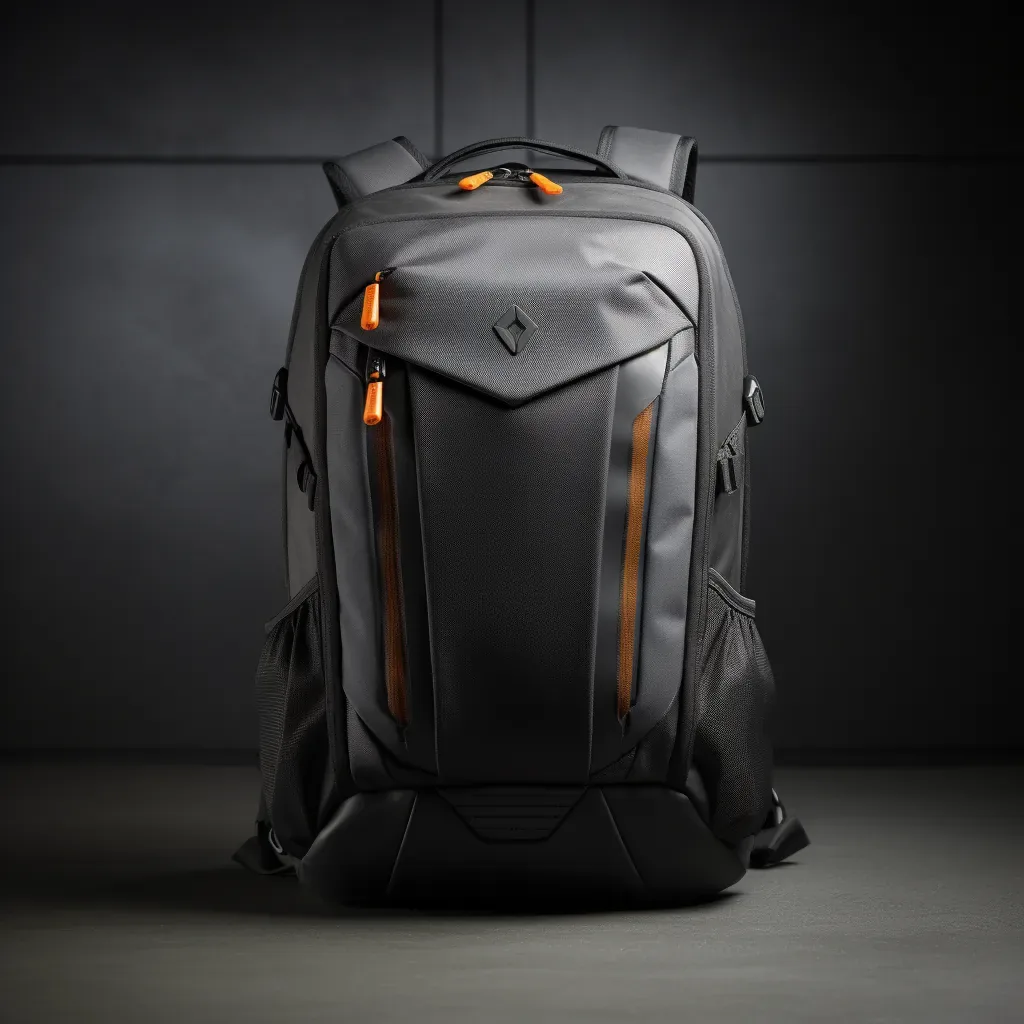
Professional leather bag photography requires specialized lighting techniques to capture texture and color accurately
Research shows that 75% of online shoppers judge a brand's credibility based on product photography. For luxury items like leather goods, customers who can't physically touch the product need images that communicate quality, texture, and craftsmanship through a screen.
Essential Equipment for Leather Bag Photography
Camera Bodies
While modern smartphones have improved dramatically, serious leather bag brands should invest in a dedicated camera. A full-frame DSLR or mirrorless camera offers the dynamic range and resolution needed to capture leather's subtle nuances. Here's what you need to consider:
| Camera Type | Best For | Price Range | Recommended Models |
|---|---|---|---|
| Full-Frame Mirrorless | Professional studio work, highest detail | $1,500-$4,000 | Sony A7 IV, Canon R6 II, Nikon Z6 III |
| Full-Frame DSLR | Reliable studio and location work | $1,200-$3,500 | Canon 5D Mark IV, Nikon D850 |
| APS-C Mirrorless | Small studios, budget-conscious brands | $800-$2,000 | Fuji X-T5, Sony A6700 |
| Smartphone (Flagship) | Social media, quick updates, UGC | $800-$1,200 | iPhone 15 Pro, Samsung S24 Ultra |
Lenses That Make the Difference
The lens you choose matters more than the camera body. For leather bag photography, you need lenses that render detail sharply without distortion. A 50mm prime lens is your workhorse for standard product shots, while a 100mm macro lens reveals the extraordinary details in leather grain, stitching, and hardware that justify premium pricing.
Lighting Equipment
Lighting is arguably the most critical element in leather bag photography. Unlike flat materials, leather has a three-dimensional surface that responds dramatically to different lighting angles. The goal is to reveal texture without creating harsh shadows or blown-out highlights.
- Softboxes (2-3 units): Essential for creating soft, diffused light that wraps around leather surfaces without harsh reflections. Look for softboxes at least 24x32 inches for bag-sized products.
- Light tent or shooting cube: Ideal for smaller leather accessories like wallets, cardholders, and leather accessories. Creates even, shadow-free illumination.
- Reflector panels: Gold and silver reflectors fill shadows and add warmth to leather tones. A 5-in-1 collapsible reflector covers most needs.
- LED panels: Provide consistent, adjustable color temperature lighting that's crucial for color-accurate leather photography.
- Strip lights: Create beautiful edge highlights that define the silhouette of structured bags like business bags and briefcases.
Backgrounds and Surfaces
Your background choice communicates brand positioning. Here's how different backgrounds affect leather bag perception:
| Background Type | Best Use Case | Brand Positioning | Cost |
|---|---|---|---|
| White seamless paper/vinyl | E-commerce main images, Amazon | Clean, professional, trustworthy | $20-$50 per roll |
| Light gray seamless | Secondary e-commerce images | Modern, minimalist, premium | $20-$50 per roll |
| Natural wood surfaces | Lifestyle, social media | Artisan, warm, authentic | $50-$200 per panel |
| Marble or stone slabs | Flat lays, luxury positioning | High-end, sophisticated | $30-$150 per slab |
| Dark fabric or painted board | Hero shots, campaign imagery | Luxury, dramatic, exclusive | $25-$100 |
Styling Techniques for Leather Bags
Stuffing for Perfect Shape
The single biggest mistake in amateur leather bag photography is inadequate stuffing. A leather bag without proper internal support looks deflated, wrinkled in unflattering ways, and loses its designed silhouette. Here's the professional approach:
- Start with the base: Fill the bottom of the bag firmly with acid-free tissue paper or custom foam inserts. This creates the foundation that prevents sagging.
- Build the structure: Add tissue paper or bubble wrap to fill the middle, shaping the bag to its intended form. Pay special attention to corners—these should be defined and crisp.
- Shape the sides: For structured bags like luxury handbags, ensure the sides maintain their designed shape without bulging outward.
- Position the flap or closure: Arrange the bag's closure naturally—as it would sit when carried. Magnetic snaps should appear engaged; flaps should lie flat.
- Final adjustment: Step back and view from the camera angle. Make micro-adjustments to the stuffing until the bag looks full but not overfilled.
Steam and Wrinkle Management
Leather bags often arrive from storage with creases and wrinkles that photograph poorly. Use a garment steamer (never an iron) to gently relax wrinkles in leather. Hold the steamer 6-8 inches from the surface and move continuously to avoid moisture buildup. For stubborn creases, stuff the bag fully before steaming—the internal pressure helps smooth the exterior as the leather relaxes.
For garment bags and other large leather items, professional steaming is essential. Allow the bag to cool and set for 15-20 minutes before positioning for the shoot.
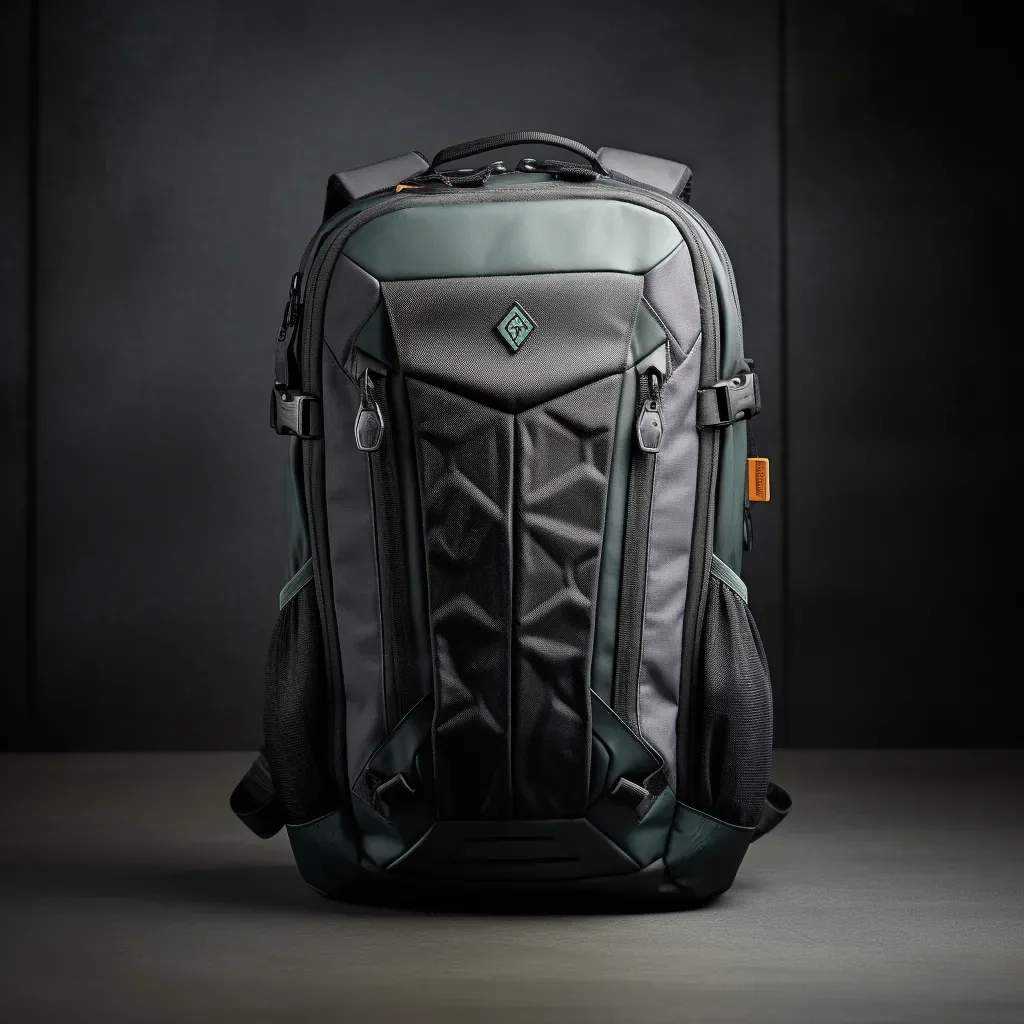
Proper styling transforms a leather bag from flat and lifeless to dimensional and desirable
Prop Selection and Styling Philosophy
Props should enhance, never compete with, the leather bag. The best props communicate context and lifestyle while keeping the product as the undeniable focal point. Consider these prop categories:
- Scale references: Sunglasses, phones, or books that help customers understand the bag's size—especially important for online shoppers who can't hold the product.
- Complementary textures: Silk scarves, fresh flowers, or cashmere create visual interest while contrasting beautifully with leather's rich texture.
- Lifestyle context: A passport and boarding pass beside travel bags, a laptop near backpacks, or evening accessories near evening bags.
- Color harmony: Select props in neutral tones (cream, gold, blush, navy) that complement rather than clash with your leather colors.
Essential Shot Types for Leather Bag Collections
A complete product photography set for each leather bag should include multiple shot types, each serving a different purpose in the customer's journey from discovery to purchase.
1. The Hero Shot (White Background)
This is your primary product image—the one that appears in search results, category pages, and marketplace listings. It should be shot on pure white (for Amazon compliance) or light gray, with the bag at a slight angle (approximately 15-20 degrees) to show depth and dimension. This angle is more dynamic than straight-on while still showing the full front profile.
2. Flat Lay Photography
Flat lays have become essential for social media and brand storytelling. Position the bag on an attractive surface with carefully arranged props that tell a story about the bag's intended use. For leather bags, flat lays work particularly well with leather accessories arranged in a collection format that encourages multi-item purchases.
3. 360-Degree Rotation
A 360-degree view requires 12-24 individual images stitched together, showing the bag from every angle. This is increasingly expected by online shoppers and significantly reduces return rates because customers feel they've "examined" the product. For structured bags like business bags and rolling luggage, this format is nearly mandatory.
4. Detail and Macro Shots
Leather quality is communicated through details. Capture close-ups of:
- Leather grain texture (proves genuine quality)
- Stitching patterns and density (demonstrates craftsmanship)
- Hardware finish and engraving (justifies premium pricing)
- Interior lining and pockets (addresses practical concerns)
- Edge painting or finishing (shows attention to detail)
5. Lifestyle and Context Shots
Lifestyle photography places your leather bags in real-world scenarios. A model carrying your handbags through an urban setting, a professional opening a briefcase in a meeting, or a traveler with your travel luggage at an airport. These images help customers envision the bag in their own lives.
6. Scale Reference Shots
One of the top reasons for returns in online bag shopping is size misexpectation. Always include at least one image that clearly communicates scale—whether through a model holding the bag, common objects placed beside it, or dimension overlays with measurements.
Editing for Leather: Color Accuracy and Texture Enhancement
Post-production editing for leather bags requires a delicate balance. The goal is to enhance what's already beautiful while maintaining absolute accuracy in color representation. Misrepresenting leather color is the fastest path to returns and negative reviews.
Color Accuracy Protocol
- Use a color checker: Shoot with a X-Rite ColorChecker or similar calibration target in your first frame. This allows you to create custom camera profiles that render leather colors accurately.
- Calibrate your monitor: Edit on a calibrated display (100% sRGB minimum, ideally Adobe RGB) to ensure what you see matches reality.
- Reference the physical product: Keep the actual leather bag nearby during editing to compare colors directly.
- Avoid heavy saturation adjustments: Leather's beauty lies in its natural, nuanced colors. Over-saturation creates unrealistic expectations.
Texture Enhancement Techniques
Leather grain should be visible and appealing. Use clarity and texture sliders moderately (10-20 points) to enhance the natural grain pattern. Apply localized sharpening to stitching and hardware details while keeping the leather surface smooth but defined. Avoid over-sharpening, which creates noise and can make leather look artificial.
E-Commerce Platform Photo Requirements
Each e-commerce platform has specific image requirements that your photography must meet. Failing to comply can result in rejected listings or suppressed visibility.
| Platform | Main Image Background | Minimum Resolution | Max Images | Key Requirements |
|---|---|---|---|---|
| Amazon | Pure white (RGB 255,255,255) | 1,600px longest side | 9 images | Product fills 85%+ of frame; no props on main image |
| Shopify | Flexible (white recommended) | 2,048px recommended | Unlimited | Square (1:1) ratio preferred; support for 3D models |
| Etsy | Flexible | 2,000px shortest side | 10 images | First image is listing thumbnail; lifestyle encouraged |
| Instagram Shopping | Flexible | 1,080px minimum | 10 per carousel | Square (1:1) or portrait (4:5) preferred |
Video Content for Leather Bags
Video is no longer optional for brands serious about selling leather bags online. Studies show that product videos can increase conversion rates by up to 80%, and for luxury items like leather goods, video communicates qualities that static images cannot—the suppleness of the leather, the sound of a quality zipper, the way light plays across the grain.
Essential Video Types
- 360-degree rotation: A simple turntable video showing the bag from all angles in 10-15 seconds.
- What fits inside: Demonstrate the bag's capacity by packing it with everyday items.
- Craftsmanship stories: Close-up footage of leather grain, stitching, and hardware—especially effective for custom collections.
- Lifestyle vignettes: Short clips showing the bag in use—commuting, traveling, at events.
User-Generated Content and Social Proof
User-generated content (UGC) has become a powerful complement to professional photography. Customers sharing photos of your leather bags in real life build trust and provide authentic perspectives that studio photography cannot replicate. Encourage UGC by:
- Creating branded hashtags and featuring them on packaging
- Running photo contests with your leather bags as prizes
- Reposting customer photos on your social channels and website
- Including insert cards in shipments encouraging photo sharing
- Offering small discounts for submitted customer photos
For brands working with manufacturers like Bespoke Bags' OEM/ODM services, having consistent, professional photography ready from day one of your launch gives your brand immediate credibility in the marketplace.
Hiring Professional Photographers vs. DIY
The decision between hiring a professional photographer and building an in-house capability depends on your brand's volume, budget, and long-term strategy.
| Factor | Professional Photographer | DIY Setup |
|---|---|---|
| Initial Investment | $2,000-$8,000 per shoot | $1,500-$5,000 for equipment |
| Per-Image Cost (ongoing) | $50-$500 per image | $5-$20 per image (time + materials) |
| Quality Ceiling | Publication-ready, magazine quality | Good for e-commerce, limited for campaigns |
| Turnaround Time | 1-3 weeks per collection | Immediate, ongoing capability |
| Best For | Launch collections, campaigns, lookbooks | Daily social content, rapid product updates |
| Scalability | Limited by photographer availability | Unlimited once setup is mastered |
Many successful brands use a hybrid approach: hiring professionals for hero shots and campaign imagery while maintaining a basic in-house setup for social media content and quick product additions. This balances quality with cost-effectiveness.
Cost Analysis: Building a Complete Photography Program
For a brand launching a collection of 20 leather bags, here's a realistic budget breakdown:
- Professional shoot (20 bags, 8 shots each): $8,000-$16,000
- Lifestyle/model shoot (10 looks): $5,000-$12,000
- Video content (20 product videos): $4,000-$10,000
- DIY equipment for ongoing content: $2,000-$4,000
- Editing software and storage: $500-$1,000/year
- Total first-year investment: $19,500-$43,000
While this may seem substantial, consider that a single best-selling leather handbag generating $150 profit per unit needs just 130-290 additional sales to cover the entire photography investment—and professional photography typically increases conversion rates by 30-50%, making this one of the highest-ROI investments a leather bag brand can make.
Case Studies: Brands Doing Leather Photography Right
Premium Handbag Brand: The Power of Detail
A mid-range handbag brand struggling with 1.2% conversion rates invested in macro detail photography that showcased their leather grain quality and hand-stitching. By adding 4 detail shots per product and a 360-degree rotation, their conversion rate increased to 2.8% within 60 days—a 133% improvement. The detail shots became their highest-engagement images, proving that customers want to examine leather quality closely before purchasing.
Luggage Brand: Lifestyle Context Wins
A leather luggage manufacturer selling carry-on bags and duffel bags shifted from plain white-background photography to lifestyle images showing their bags in travel contexts—airports, hotels, city streets. Their average order value increased 22% because lifestyle photography helped customers envision the complete travel experience, leading to more multi-item purchases.
Small-Batch Artisan: UGC as Equalizer
A small brand producing limited-run leather collections through small-batch manufacturing couldn't afford large photography budgets. Instead, they built a UGC program that generated 200+ authentic customer photos within six months. These authentic images, used across their website and social channels, outperformed their professional studio shots in engagement by 40%, demonstrating the power of social proof in leather goods marketing.
Getting Started: Your Leather Bag Photography Action Plan
- Audit your current photography: Compare your images against top competitors. Identify gaps in shot types, styling quality, and platform compliance.
- Prioritize hero shots: Ensure every product has a flawless white-background hero image that meets marketplace requirements.
- Add detail shots: Commission macro photography of leather grain, stitching, and hardware for your top 20% best-selling products.
- Invest in lifestyle: Plan at least one lifestyle shoot per season to refresh your brand imagery.
- Build for video: Start incorporating product videos into your listings—beginning with simple 360-degree turntable shots.
Remember that great photography is an ongoing investment, not a one-time expense. As your private label or brand grows, your photography should evolve to match your expanding product lines and elevated brand positioning.
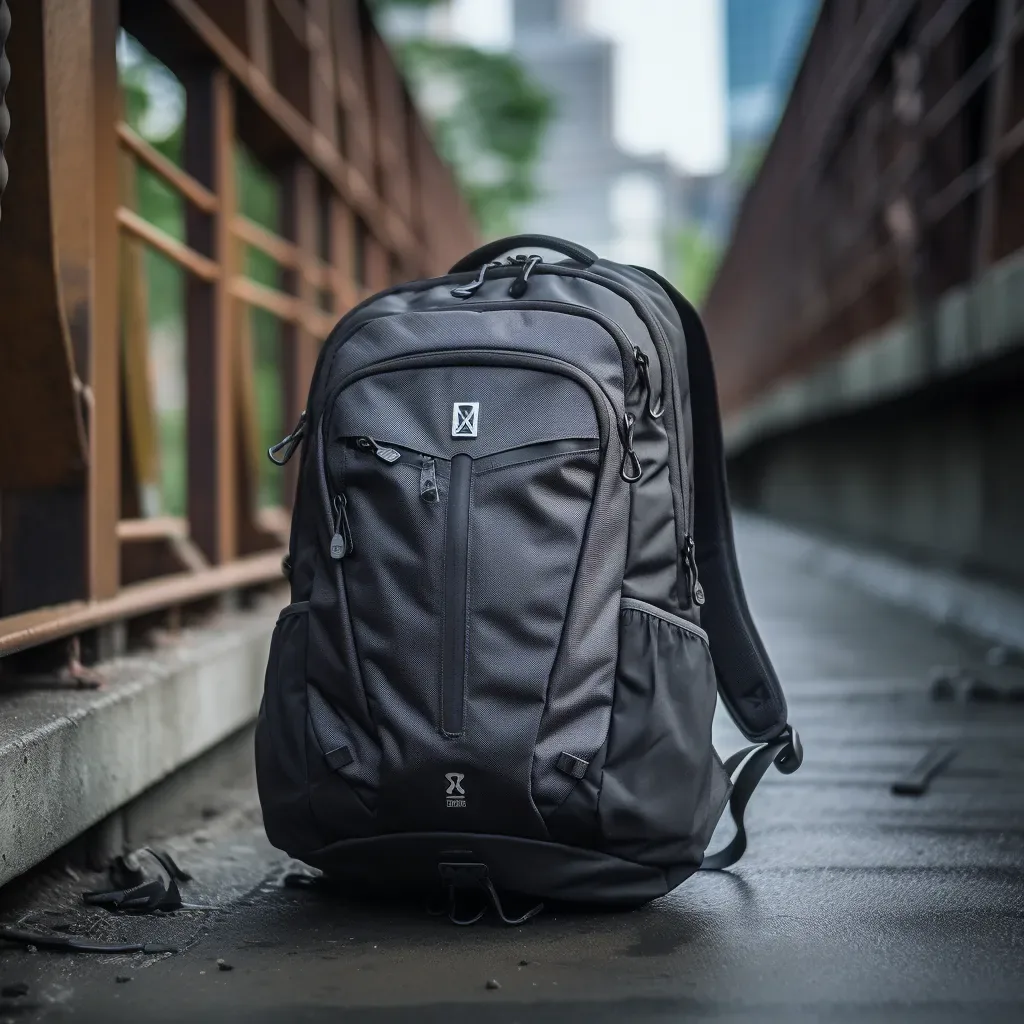
Professional photography showcases the craftsmanship and quality of leather bags across all product categories
Three Problem Materials: Black Leather, Gloss Finishes and Suede
A setup that flatters tan full-grain leather will usually fail on the two extremes of the range. Black leather collapses into a silhouette because the surface absorbs light and the eye has nothing to read; high-gloss finishes do the opposite and throw back a hard specular reflection; suede sits awkwardly in between and loses its nap under the wrong light angle.
Treat each as a separate lighting problem rather than a colour difference, and build the setup around the one feature the material is sold on: grain for full grain, depth for gloss, nap for suede.
| Material | What goes wrong | Setup adjustment | Editing caution |
|---|---|---|---|
| Black full-grain leather | Detail disappears; the bag reads as a shape | Grazing side light plus a soft fill to lift the grain without lifting the black | Do not brighten globally; the background goes grey before the grain appears |
| Patent and high-gloss | Hard white hotspots and reflections of the room | Large diffusion source well off-axis, black flags to control reflections | Clone only the largest hotspots; over-cloning flattens the depth |
| Suede and nubuck | Nap looks flat, or shows every handling mark | Raking light across the nap, no direct frontal source | Avoid heavy noise reduction; it removes the nap texture entirely |
| Metallic and laminated leather | Colour shifts with viewing angle | Two sources at matched intensity, fixed camera height | Shoot a colour reference card in the same frame |
| Pale or cream leather | Blows out before texture is visible | Expose for the highlight, add fill rather than raising exposure | Check the background stays true white in the final file |
Where a collection mixes finishes, shoot them in separate sessions rather than switching setups between styles. The reset cost in time is lower than the cost of a set of inconsistent images that cannot be used together on a category page.
A Colour Accuracy Workflow from Studio to Storefront
Colour complaints are the most expensive photography failure, because the cost is not the reshoot but the returns. Accuracy is not achieved in post-production; it is built through a chain of small disciplines that starts before the first frame and ends at the export profile.
- Set a fixed white balance. Shoot in raw with a manual white balance measured from a grey card, not auto, so frames within a set match each other.
- Place a reference card in the first frame of every setup. One card shot per setup gives a correction target without interrupting the flow.
- Use a calibrated display. Editing on an uncalibrated screen makes every subsequent decision unreliable.
- Correct in a consistent order. White balance, exposure, then local adjustments, then sharpening, applied in the same sequence every time.
- Export to a defined profile. Convert to sRGB at export and keep the master file in a wider space.
- Check on a phone before publishing. Most customers will see the image on a phone screen, which is where a colour error first becomes visible.
Keep the master files and the export settings with the style reference. When a second season is shot, reusing the same settings is what keeps a collection looking like one family across years.
What to Put in a Photography Brief for a Bag Collection
Most disappointing shoots are briefed successfully and then commissioned vaguely. A one-page brief that states the shot list, the setups and the delivery specification turns a shoot from a creative gamble into a production task with a defined output.
- Shot list per style, with the exact number of frames and the angle for each, so the studio can quote accurately and the brand can check delivery.
- Background and surface reference, including the exact white value or surface material, since a near-white that differs between styles is visible in a grid.
- Styling rules, covering stuffing, strap position, hardware orientation and whether the bag is shot open or closed.
- Model and scale reference, where worn shots are included, with strap drop and body height stated.
- Colour reference, naming the material samples the studio can compare against on the day.
- Delivery specification: file format, colour space, pixel dimensions, naming convention and the deadline for both selects and finals.
Agree who owns the usage rights and for how long. A shoot commissioned for a season often ends up running for two, and the cost of extending rights afterwards is considerably higher than negotiating them into the original brief.
Frequently Asked Questions
What camera settings work best for leather bag photography?
For leather bag photography, use a DSLR or mirrorless camera with a 50mm or 100mm macro lens. Set your aperture between f/8 and f/11 for sharp detail across the entire bag. Use ISO 100-200 to minimize noise, and shoot in RAW format for maximum editing flexibility. A shutter speed of 1/125s or faster is recommended when using natural light, while studio lighting setups allow more flexibility with slower speeds.
How do you stuff leather bags for photography to maintain their shape?
Use acid-free tissue paper or bubble wrap to stuff leather bags before photographing them. Fill the bag evenly, paying special attention to the corners and base to create a natural, structured silhouette. Avoid overstuffing, which can distort the bag's proportions. For softer styles like hobo bags, use less filling to maintain their relaxed drape. Always insert handles and straps naturally, positioning them as a customer would carry them.
What background colors work best for leather bag product photography?
White or light gray seamless backgrounds are the industry standard for e-commerce leather bag photography, as they make the product the focal point and meet marketplace requirements like Amazon's pure white background policy. For lifestyle shots, consider warm neutrals like beige, taupe, or soft wood tones that complement leather textures. Dark backgrounds (charcoal, navy) work well for premium luxury positioning, making rich leather tones pop. Avoid busy patterns that compete with the product.
How much should a brand budget for professional leather bag photography?
Professional leather bag photography typically costs between $50 and $200 per image for standard e-commerce shots, and $200 to $500+ per image for lifestyle and creative campaign photography. A complete shoot covering 20-30 images across multiple angles typically ranges from $2,000 to $8,000. For brands producing seasonal collections, budget $15,000 to $40,000 annually. DIY setups can reduce costs to $500-$2,000 for initial equipment, though they require significant time investment and may not achieve the same quality as professional results.
What are Amazon's specific photo requirements for leather bag listings?
Amazon requires the main image to be on a pure white background (RGB 255, 255, 255), with the product filling 85% or more of the frame. Images must be at least 1,600 pixels on the longest side for zoom functionality. The bag must be the sole focus—no props, text overlays, or watermarks on the main image. Amazon allows up to 9 images including infographics, lifestyle shots, and detail close-ups. All images must accurately represent the product color and scale, and show the bag from multiple angles including front, back, side, interior, and bottom.
Explore More Resources:
Luxury Handbags | Business Bags | Travel Luggage | OEM/ODM Services | Private Label | Custom Design | Quality Control | Small Batch Manufacturing
Last Updated: August 14, 2026
How do you photograph black leather so the detail is visible?
Light the grain rather than the bag. A grazing side source reveals the surface texture while a soft fill lifts it just enough to read, leaving the background and the black level intact. Brightening the whole image is the usual mistake: the background turns grey well before any grain appears.
How is glare avoided on patent or high-gloss leather?
Use a large diffused source placed well off-axis and control reflections with black flags rather than by moving the camera. The aim is one long soft highlight that describes the form, not several hard ones. Retouch only the largest hotspots; removing every reflection makes the surface look flat and plastic.
What lighting suits suede and nubuck?
Raking light across the nap at a shallow angle brings out the texture without flattening it. Avoid a frontal source, which kills the nap, and avoid heavy noise reduction in editing, which removes the very texture the material is bought for. Brush the surface before each frame.
How many final images are needed per bag style?
Six to eight is a workable number for a full product page: hero, three-quarter, detail, interior, scale, worn and packaging. For marketplace listings the platform minimum may be lower, but a brand store benefits from the full set, and reshooting later costs more than shooting it once.
How is colour consistency maintained across a long shoot day?
Lock the camera settings and lighting at the start, shoot raw with a manual white balance from a grey card, and photograph a reference card at the beginning of each setup. Avoid changing ambient light mid-day; if daylight is involved, shoot the colour-critical frames first.
Should hardware be photographed separately?
Yes, one close frame of the hardware is worth including, because plating tone is a common source of returns and is hard to judge in a full-bag shot. Show the zip pull, lock or buckle at a scale where the finish is readable, and state the finish name in the specification.
What file format and size should be delivered for web use?
Deliver sRGB files at the largest pixel dimension your platform supports, typically 2000-3000 pixels on the long edge, plus a compressed derivative for fast loading. Keep wide-gamut master files separately. Agree format, dimensions and naming in the brief so delivery matches the storefront without rework.